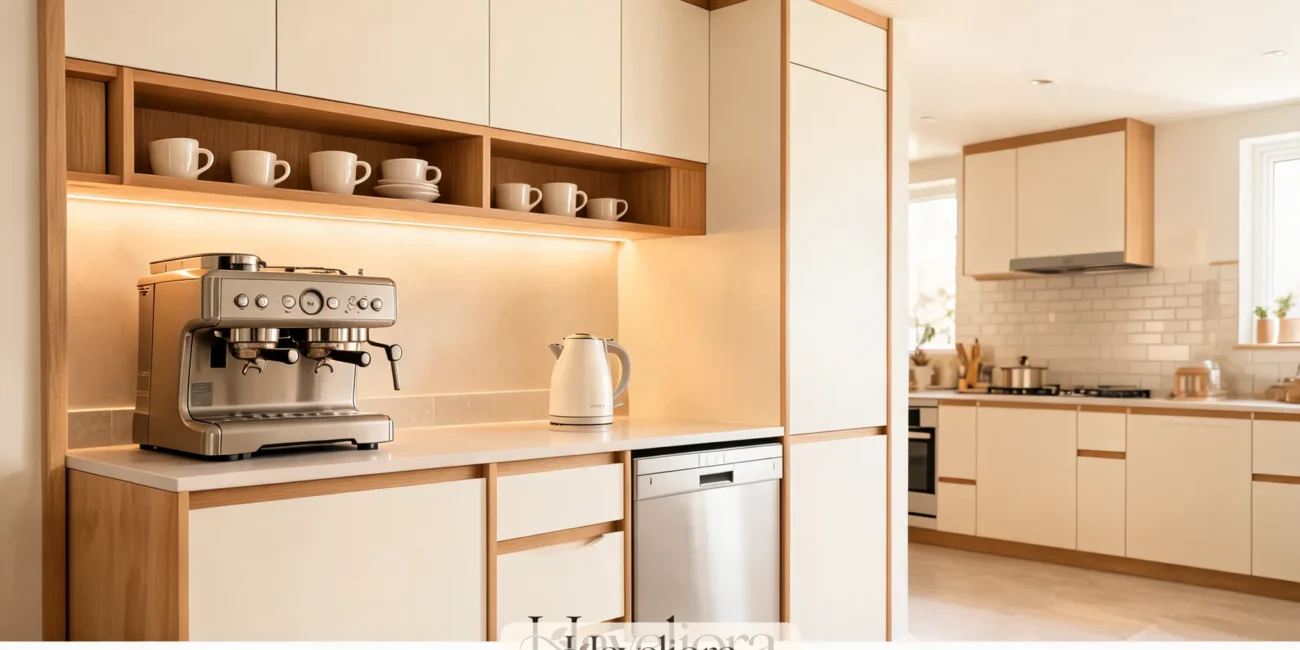
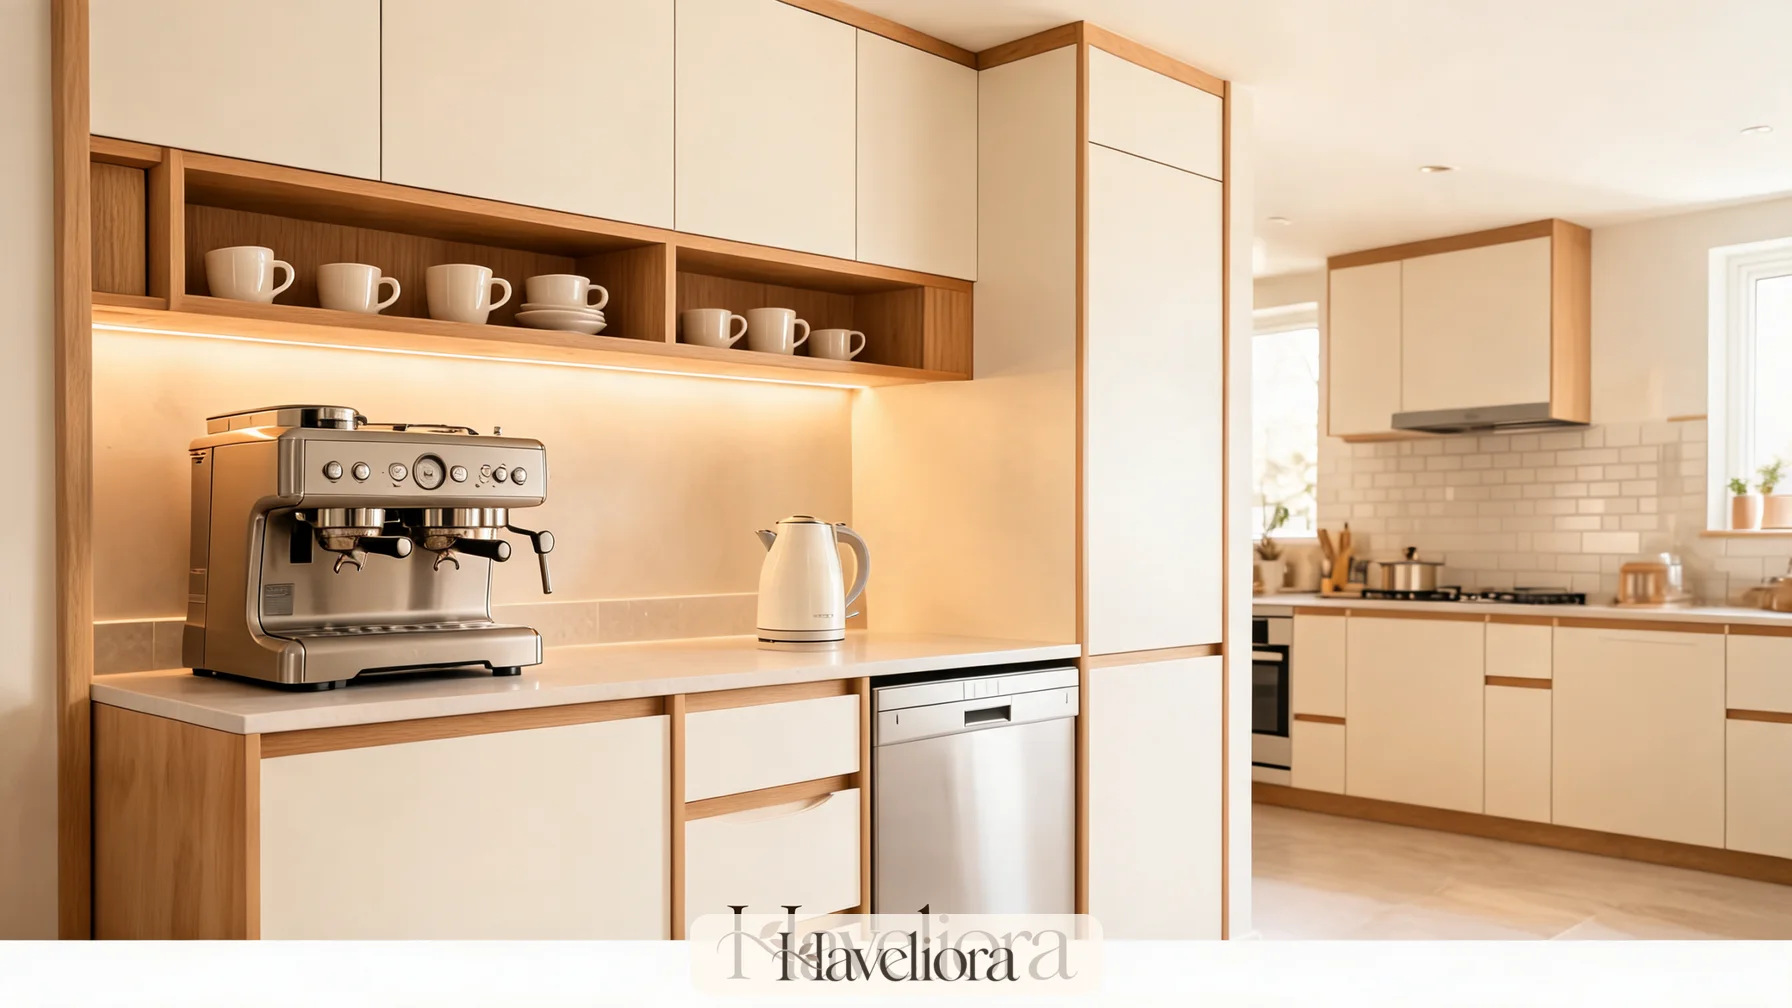
A kitchen beverage station works when it removes small daily frictions: the coffee machine is not competing with chopping space, tea supplies are not scattered between three cabinets, mugs are within reach, and guests can make a drink without stepping into the main cooking route. The concept has become more visible in recent kitchen renovations, but the useful version is not a decorative “coffee bar” built for photographs. It is a compact work zone designed around the drinks a household actually makes.
Before planning the station, notice what currently causes inconvenience for a week. Perhaps the coffee grinder blocks prep space, the kettle lives far from the mugs, tea bags spread across a deep pantry shelf, or guests repeatedly open the main refrigerator for water. Those observations are more useful than starting with a list of fashionable features because they reveal exactly what the new zone should remove from the main kitchen routine.
The 2026 U.S. Houzz Kitchen Trends Study, based on a survey of 1,780 U.S. homeowners who were planning, undergoing or had recently completed a kitchen renovation, reports beverage stations in 24% of specialty built-in features, second only to pantry cabinets in that category. That makes the idea current, but the planning principles are more durable than the trend. A beverage station can be as simple as one clear section of counter with a drawer below or as elaborate as a pocket-door cabinet with an espresso machine, filtered water, sink and undercounter refrigerator. The right version depends on routine, space, appliance requirements and how much separation from the main kitchen is genuinely useful.
Start with the drinks and routines, not the cabinetry
Before choosing shelves, doors or a countertop, list what happens at the station during a normal week. A household that makes two espresso drinks every morning has different needs from one that rotates between tea, pour-over coffee, smoothies and sparkling water. A station designed for weekend entertaining also needs different landing space from one used by a single person before work.
Coffee-first stations
If coffee is the main task, the machine should determine the work zone. Note how the water tank is filled, where the bean hopper opens, whether the drip tray pulls forward and what must be removed for cleaning. Espresso machines often need more vertical and side clearance than their footprint suggests, so do not design a tight cabinet around the product dimensions alone.
Tea-first stations
Tea requires less appliance space but benefits from organized small storage. A kettle, mugs, tea tins or bags, spoons and a place for used tea bags can fit into a narrower zone. If several people drink different teas, shallow drawers or small labeled containers can be more useful than deep shelves where packets disappear behind one another.
Cold-drink and family stations
Water bottles, glasses, an undercounter refrigerator or a filtered-water source can create a self-service zone for family members and guests. This works best at the edge of the kitchen, where someone can get a drink without crossing the cook’s main prep area.
Choose the location by traffic and plumbing realities
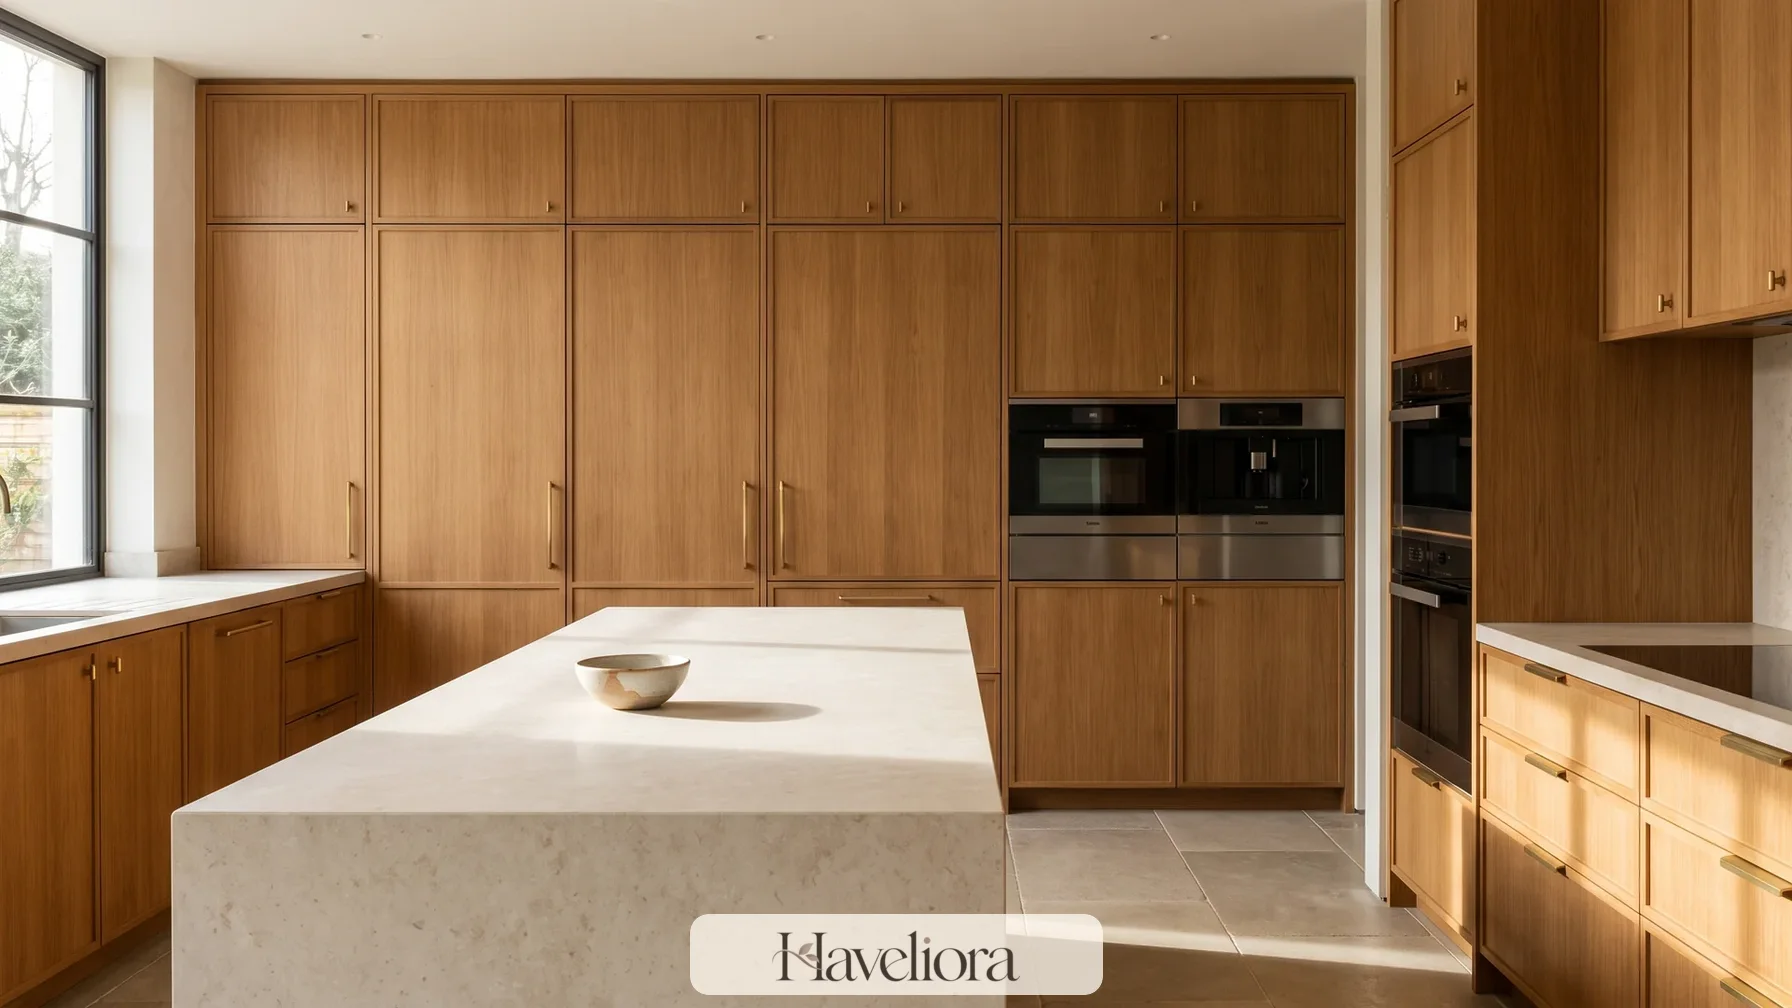
A beverage station should be close enough to the kitchen to share storage and services without creating another obstacle in the work zone. The ideal location often sits just outside the most intensive cooking triangle: at the end of a cabinet run, beside a pantry, on the back of an island, in a shallow alcove or along the transition to a dining area.
At the edge of the main kitchen
This is often the easiest solution because it uses the same cabinetry, countertop and electrical infrastructure while keeping beverage traffic away from the range and primary preparation surface. It is particularly effective in households where several people use the kitchen at the same time.
Inside a pantry or tall cabinet wall
A beverage station inside a pantry can keep small appliances visually contained, but it needs enough depth, task lighting and safe access to power. If doors close in front of heat-producing appliances, the design must account for manufacturer instructions and ventilation rather than assuming the cabinet can remain closed during use.
Near the dining or living area
A secondary drinks zone can support entertaining when guests can reach glasses, water and cold beverages without moving through the cooking area. The further it moves from the sink and dishwasher, however, the more important it becomes to think about carrying used cups and refilling water.
Plan the appliance lineup before ordering cabinets
The visible counter is only one part of the station. Appliances determine outlet placement, door clearances, ventilation, water access and the amount of landing space that remains once everything is installed.
Espresso machines and coffee makers
Measure the appliance in use, not just at rest. Check whether a lid lifts upward, a reservoir pulls out from the side, a steam wand needs clearance, or a portafilter projects beyond the machine. Leave enough space to remove parts for cleaning without dragging the entire appliance forward every time.
Electric kettles
A kettle creates steam and is repeatedly lifted from its base. Keep it away from delicate wall finishes or the underside of cabinetry if the appliance manufacturer requires clearance. The cord should reach an outlet without crossing the wet or working area.
Blenders and specialty drink appliances
If the station also supports smoothies, milk frothers or sparkling-water equipment, decide which devices deserve permanent counter space. Appliances used once a month are usually better stored nearby than displayed continuously.
A useful station is not the one with the most equipment. It is the one where the frequently used equipment can operate without being moved, unplugged or rearranged every morning.
Power planning deserves attention before cabinetry is ordered. Count the appliances that may operate at the same time and have a qualified electrician determine the appropriate outlets and circuit requirements for the installation. Avoid designing a beautiful station that depends on a power strip hidden behind the machine. Outlets should be reachable for unplugging and service but positioned so cords do not drape across the working surface or sit directly in the path of water.
Appliance garages can hide clutter only if they remain usable
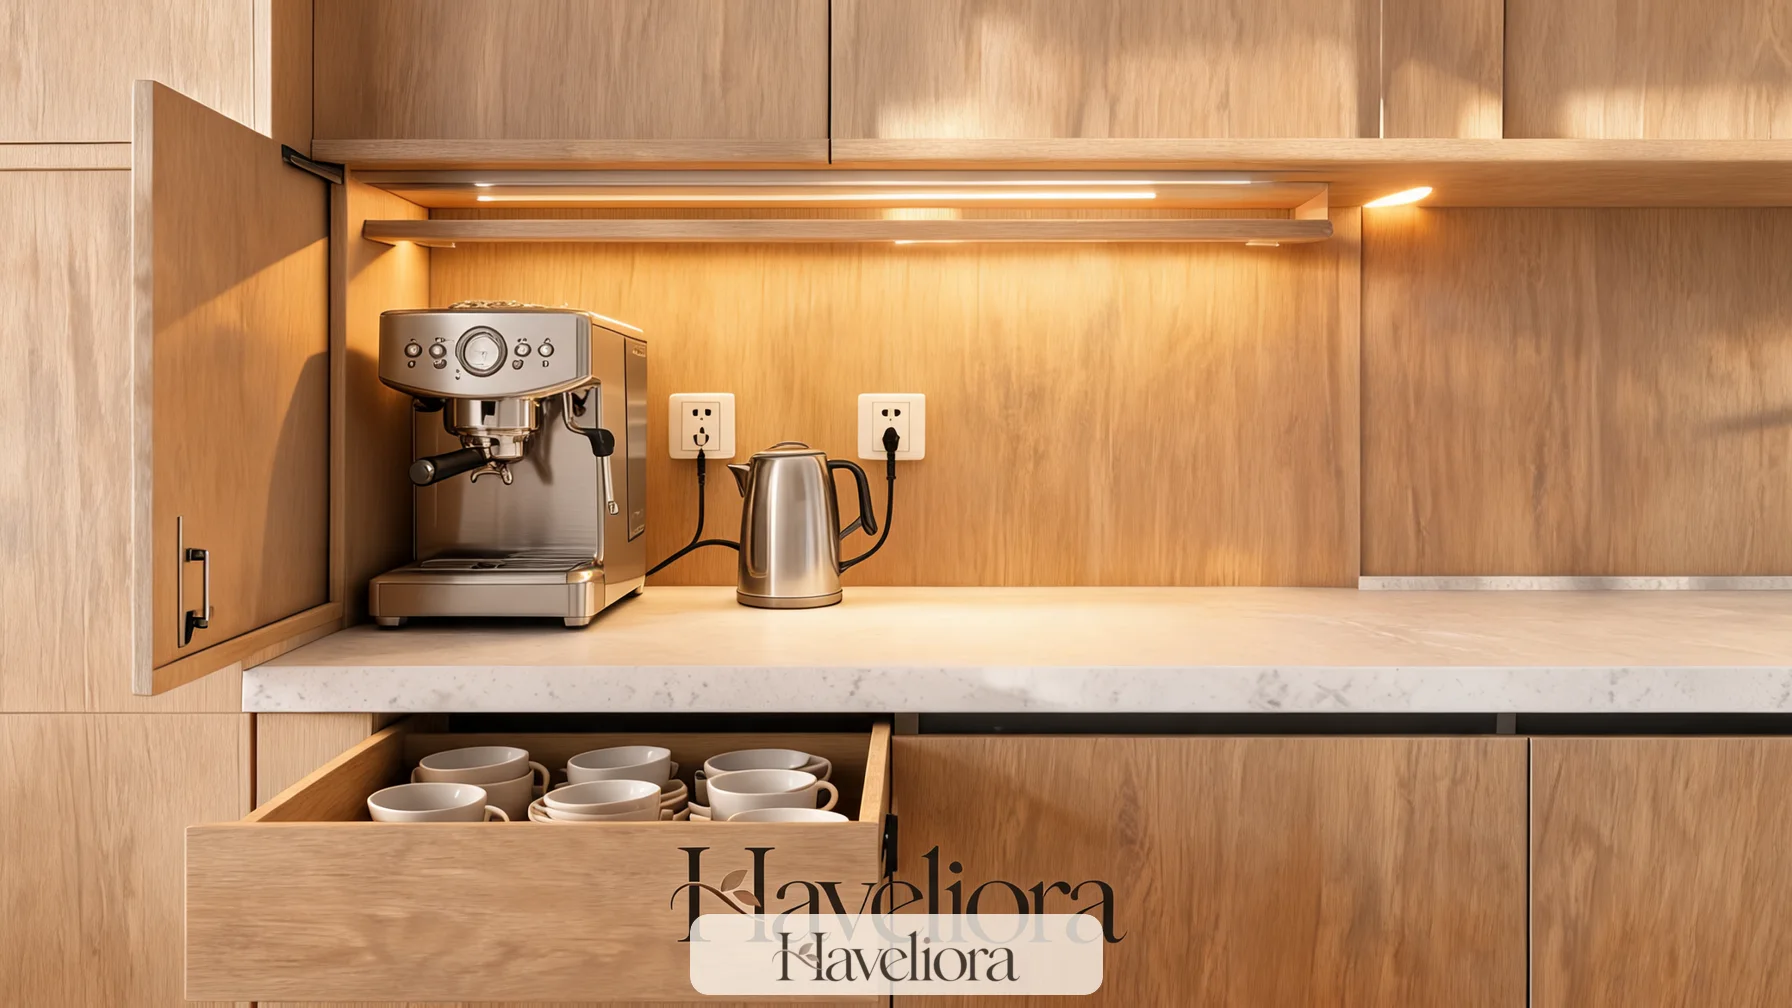
Pocket, retracting and lift-up doors can conceal a beverage station when it is not in use. They are appealing in open kitchens because the appliance zone can disappear into a larger cabinet wall, but the hardware and interior clearances must be resolved before the cabinetry is built.
Doors should disappear from the work path
Traditional side-hinged cabinet doors can project into the room while coffee is being made. Pocket doors that slide into the cabinet or doors that lift above the work area can reduce that conflict. The mechanism, however, consumes interior space, so the usable opening may be smaller than the external cabinet width suggests.
Do not close heat or steam into the cabinet
The safest operating position depends on the appliance and cabinet design. Follow appliance manufacturer guidance for ventilation and clearances. A cabinet door that looks elegant when shut should never encourage someone to operate an appliance in a configuration that traps heat or moisture.
Keep service access realistic
Outlets, shutoffs and filters should remain reachable without removing permanent cabinetry. If the station includes plumbed equipment, plan how a technician would access connections before the back panel is installed.
Protect enough clear countertop for the actual drink-making sequence
A beverage station can be visually compact and still feel frustrating if every inch is occupied by an appliance. The counter needs a clear landing area for a mug, spoon, tea infuser, milk container or bag of coffee beans. That surface is what turns a collection of appliances into a functional work zone.
Think through the sequence from start to finish. Where does the clean mug come from? Where is coffee measured? Where does the used spoon go? Where can a hot kettle be set down? Where is a drink placed while sugar or milk is added? The answers reveal how much uninterrupted surface is needed.
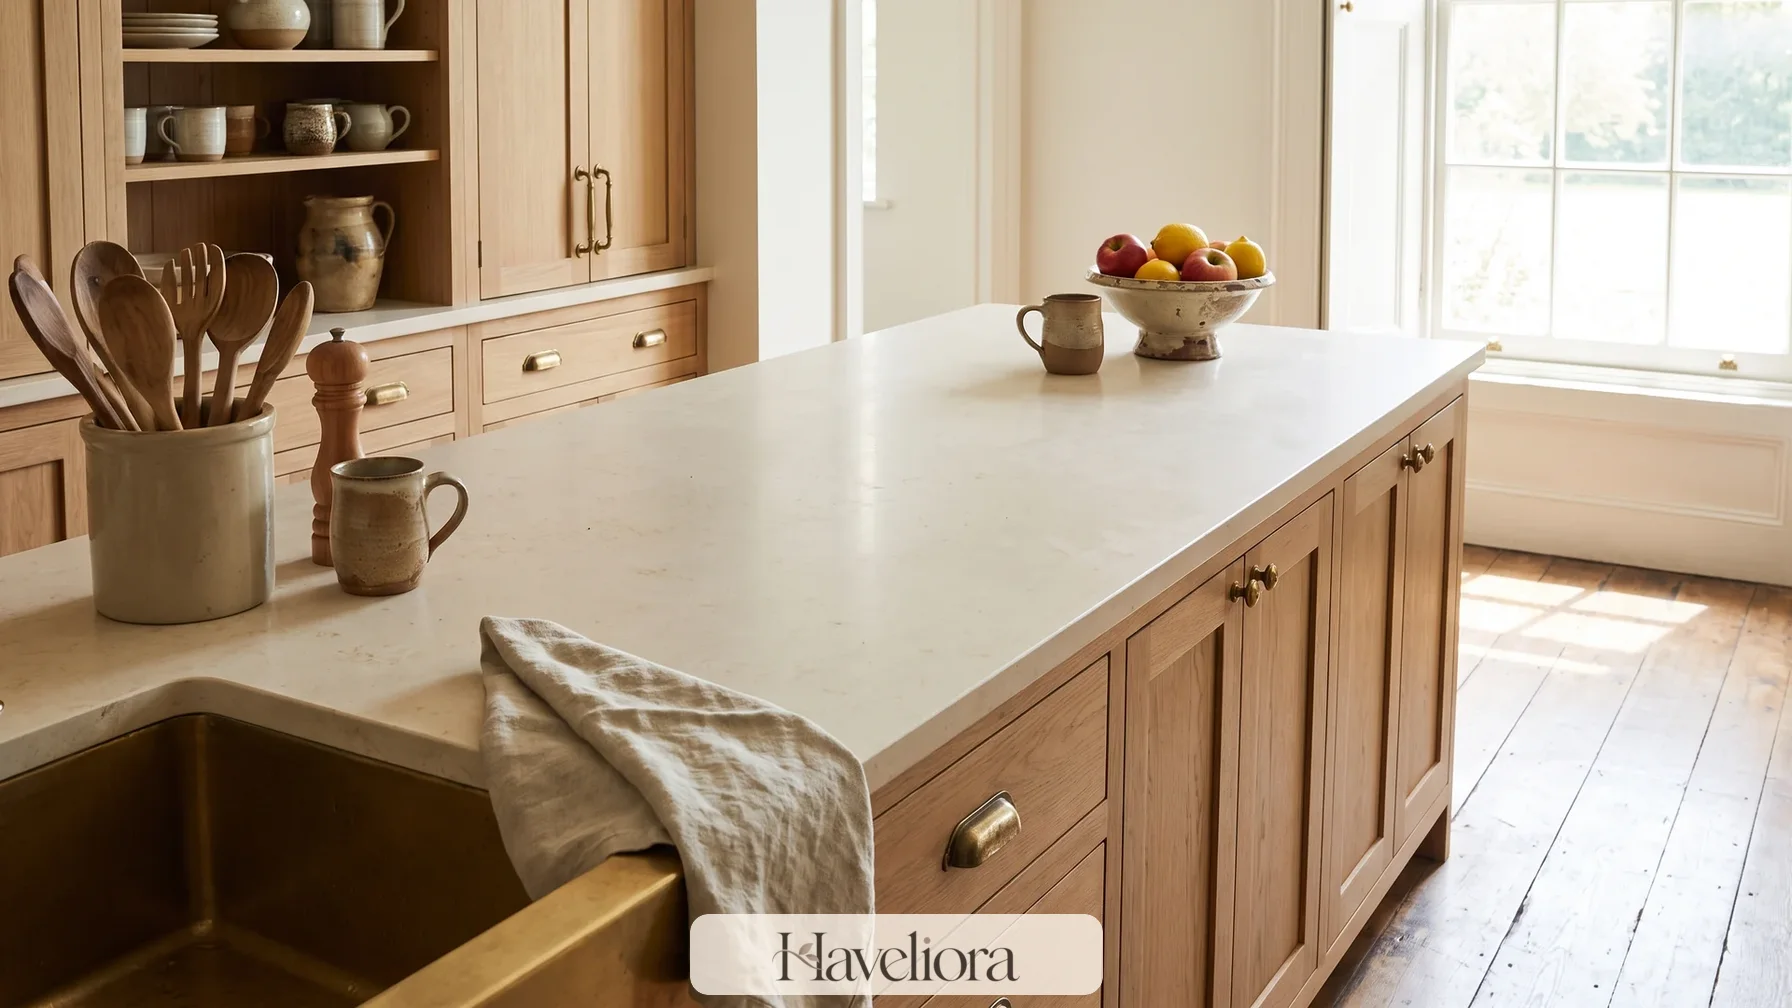
Choose a material that tolerates the routine. Coffee, tea and water create drips, while hot equipment can expose the surface to heat. Natural stone, engineered surfaces, tile and sealed wood all behave differently; follow product and appliance guidance rather than assuming a decorative material is heat- or stain-proof.
Backsplashes matter too. A highly textured surface directly behind an espresso machine may collect splashes and coffee residue more visibly than a smooth, wipeable finish. The station should be easy to reset after use without turning cleaning into a separate project.
Consider the counter edge and wall junction too. Coffee grounds and tea leaves collect in narrow seams, while milk and syrup can dry into sticky residue. A simple backsplash transition and enough room to pass a cloth around the machine make the station easier to maintain than intricate trim directly behind the work zone. If a countertop appliance is heavy, decide whether it can remain in place while the surrounding surface is cleaned rather than requiring frequent lifting.
Organize storage in the order people use it
The most effective storage follows the beverage routine instead of grouping items by cabinet type. Mugs, beans, tea, filters, spoons and sweeteners should sit where they naturally enter the sequence.
Use shallow storage for small supplies
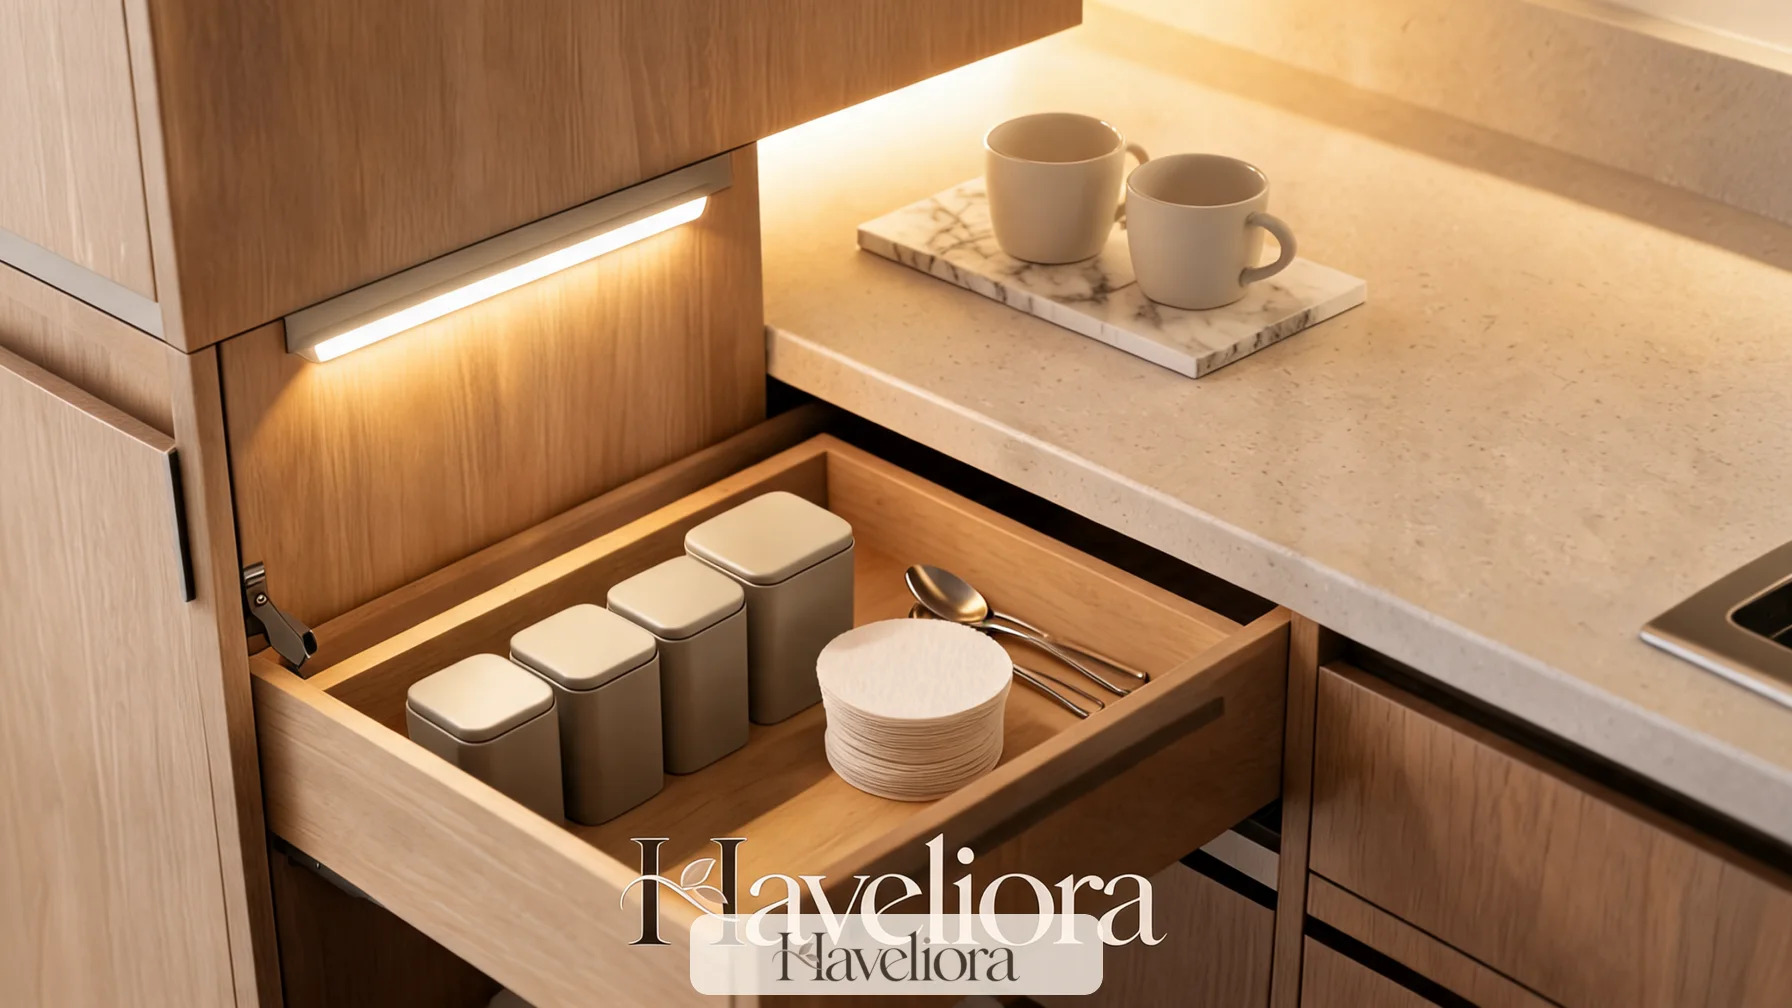
Tea packets, filters, pods, measuring spoons and stirrers are easier to see in shallow drawers than in deep cabinets. Dividers can help, but avoid creating so many compartments that the system becomes difficult to maintain when brands or routines change.
Keep mugs close to the machine
A shelf or upper cabinet within easy reach reduces unnecessary movement. If children or guests use the station, keep everyday glasses or mugs at a height that makes sense for those users rather than placing everything according to visual symmetry.
Separate backstock from daily stock
Bulk coffee, extra tea and unopened drink supplies can live in a deeper cabinet or pantry. The station itself only needs enough for the current routine. This keeps the working zone from becoming a storage display.
Give used or messy items a destination too. A small washable tray for wet spoons, a nearby waste or compost route for tea bags and coffee grounds, and a defined place for a milk pitcher or reusable filter can prevent the station from becoming cluttered immediately after the first drink is made. This “return path” is easy to overlook because most cabinetry plans focus on clean storage. In daily use, however, the station feels organized only when both clean supplies and used tools have an obvious next step.
Haveliora’s cozy collected kitchen ideas offers a related approach to keeping useful everyday objects visible without letting counters become chaotic.
Decide whether the station needs water or a sink
Plumbing can make a beverage station more self-contained, but it also increases cost and complexity. A sink is valuable when the station is far from the main kitchen sink, when espresso equipment needs frequent rinsing, or when the zone is used heavily for entertaining. It is less essential when the station sits only a few steps from existing water.
A nearby main sink may be enough
If the coffee machine is beside the normal cleanup area, duplicating plumbing may not improve the routine enough to justify the work. A removable water tank and easy route to the sink can be perfectly practical.
Filtered water can be more useful than a second sink
Some households value a dedicated filtered-water faucet or plumbed coffee machine more than a full prep sink. That decision should be based on daily use, maintenance and local installation requirements rather than on the idea that a luxury station must include plumbing.
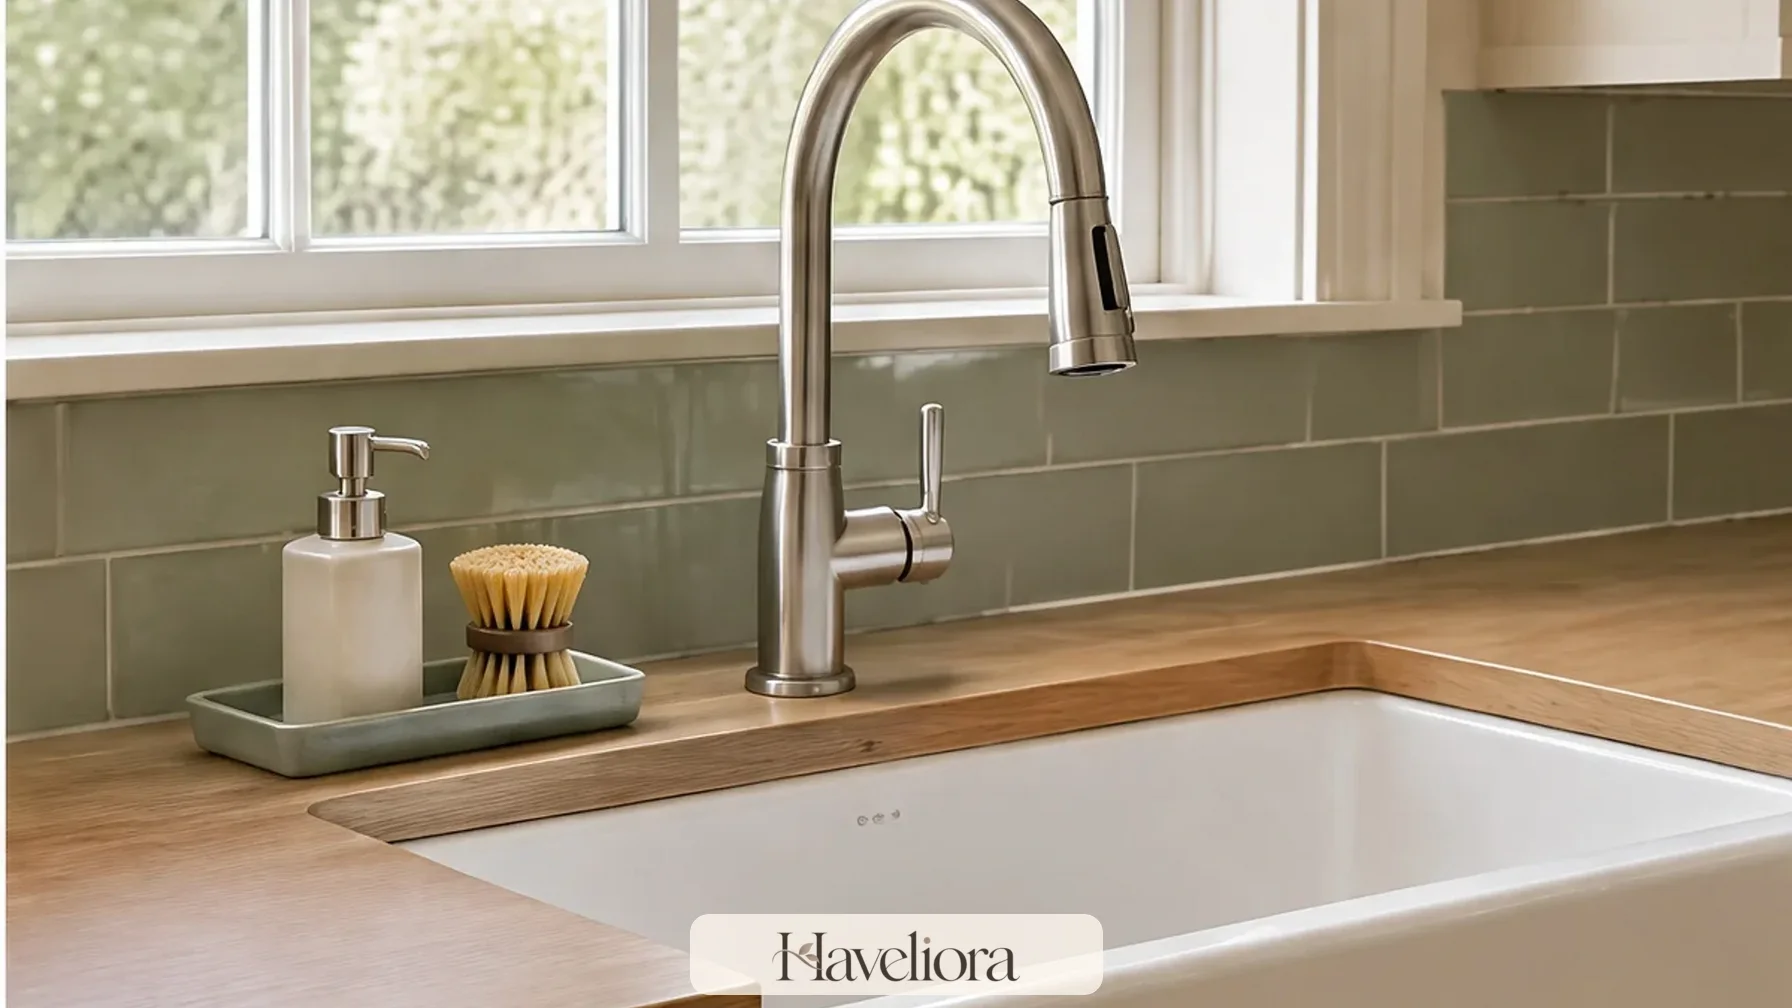
Any new plumbing should include realistic access to shutoff valves, filters and service points. Do not hide connections permanently behind decorative panels simply to preserve a clean photograph.
Think about drainage and cleanup volume as well. A tiny decorative sink may look sufficient but become frustrating if pitchers, milk containers or removable espresso parts do not fit comfortably. Conversely, a large sink can consume most of a compact station’s counter. If the main kitchen sink is already nearby, the better investment may be a larger clear work surface and filtered water rather than duplicating a full cleanup zone.
Undercounter refrigeration works best when it solves a real need
A beverage refrigerator can keep milk, sparkling water, juice or entertaining drinks close to the station, but it consumes valuable cabinet volume and requires proper ventilation. Before adding one, decide whether the main refrigerator is genuinely inconvenient or whether a second appliance would mostly duplicate existing capacity.
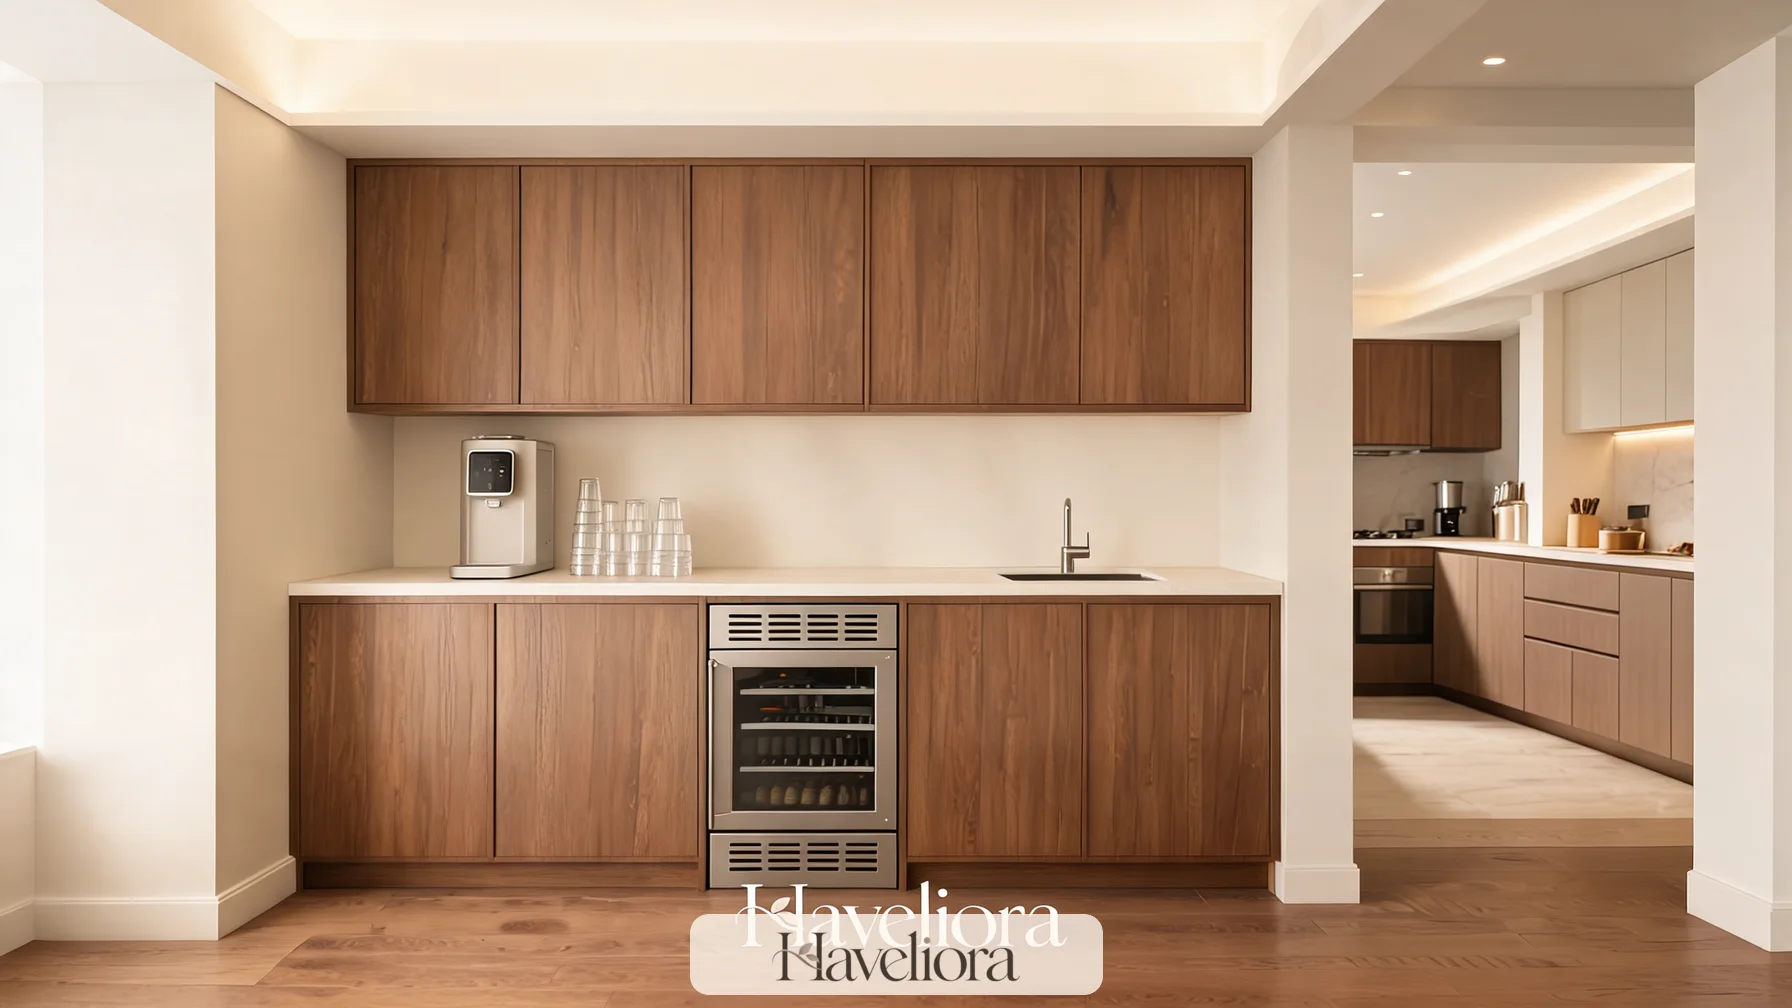
Location matters. An undercounter unit at the outer edge of the kitchen can let family members and guests access drinks without opening the main refrigerator during meal preparation. In a compact kitchen, however, the same space may be more valuable as drawers for pantry or cookware storage.
Follow the refrigerator manufacturer’s installation clearances and ventilation requirements. A unit designed for built-in installation behaves differently from a freestanding mini fridge pushed into cabinetry.
Noise should also be considered. A beverage refrigerator near a quiet dining nook or open living room may be more noticeable than one located inside the main kitchen. Appliance specifications and real-world reviews can help determine whether the convenience is worth that trade-off.
Door swing is another practical detail. A refrigerator door that opens toward a wall or directly into the person making coffee can make the zone feel cramped. Check whether shelves and drawers remain accessible when the appliance door is fully open, and make sure the handle does not collide with adjacent cabinetry. These conflicts are much easier to solve on a floor plan than after the refrigerator is installed.
Use lighting to make the station easy to reset
Beverage stations often sit inside deep cabinetry or at the end of a kitchen run where general ceiling lighting is weak. Integrated task lighting makes small spills, coffee grounds, labels and appliance controls easier to see.
Under-cabinet LED lighting can work well when it spreads light evenly across the counter rather than creating a bright hotspot behind the machine. If the station has pocket doors, make sure the lighting control remains accessible when the doors are open.
Warm light often suits wood, coffee and tea tones, but the best color temperature is the one that relates naturally to the rest of the kitchen. The station should feel integrated after dark rather than glowing as a separate display cabinet.
Decorative lighting is secondary. A small sconce or attractive pendant can add character when architecture allows it, but it should not reduce upper storage, conflict with cabinet doors or create glare on glossy appliances.
Coordinate finishes without making the station look like a showroom set
A beverage station can match the kitchen cabinetry exactly, but it does not have to. Treating the zone like a small piece of furniture can make it easier to read as a distinct destination while still belonging to the room.
A natural wood station can warm painted cabinets. A darker paint color can distinguish a shallow alcove. Repeating the kitchen’s hardware finish, countertop family or wood undertone once is usually enough to create connection.
Avoid adding a different backsplash, cabinet color, countertop, metal finish and decorative tile all in one small area unless the room is intentionally maximal. A compact station already contains several appliances and small objects; too many finish changes can make it feel visually busier than the rest of the kitchen.
If the station is concealed behind doors, the interior can be more playful because it is revealed only during use. Even then, wipeability and lighting should matter more than novelty.
Use contrast to clarify function rather than to collect more finishes. A darker interior behind light outer cabinetry can make the station read as a defined niche, while a warm wood shelf inside painted cabinets can visually connect mugs and small accessories. One deliberate contrast usually has more impact than several competing materials, and it is easier to maintain when appliances inevitably change.
Small kitchens need a compressed version of the same workflow
A dedicated beverage station does not require a full bank of cabinetry. In a small kitchen, the idea may be one defined section of countertop with a drawer below and a shelf or cabinet above. The planning principles remain the same: keep the most-used appliance fixed, provide a clear landing area and store supplies within reach.
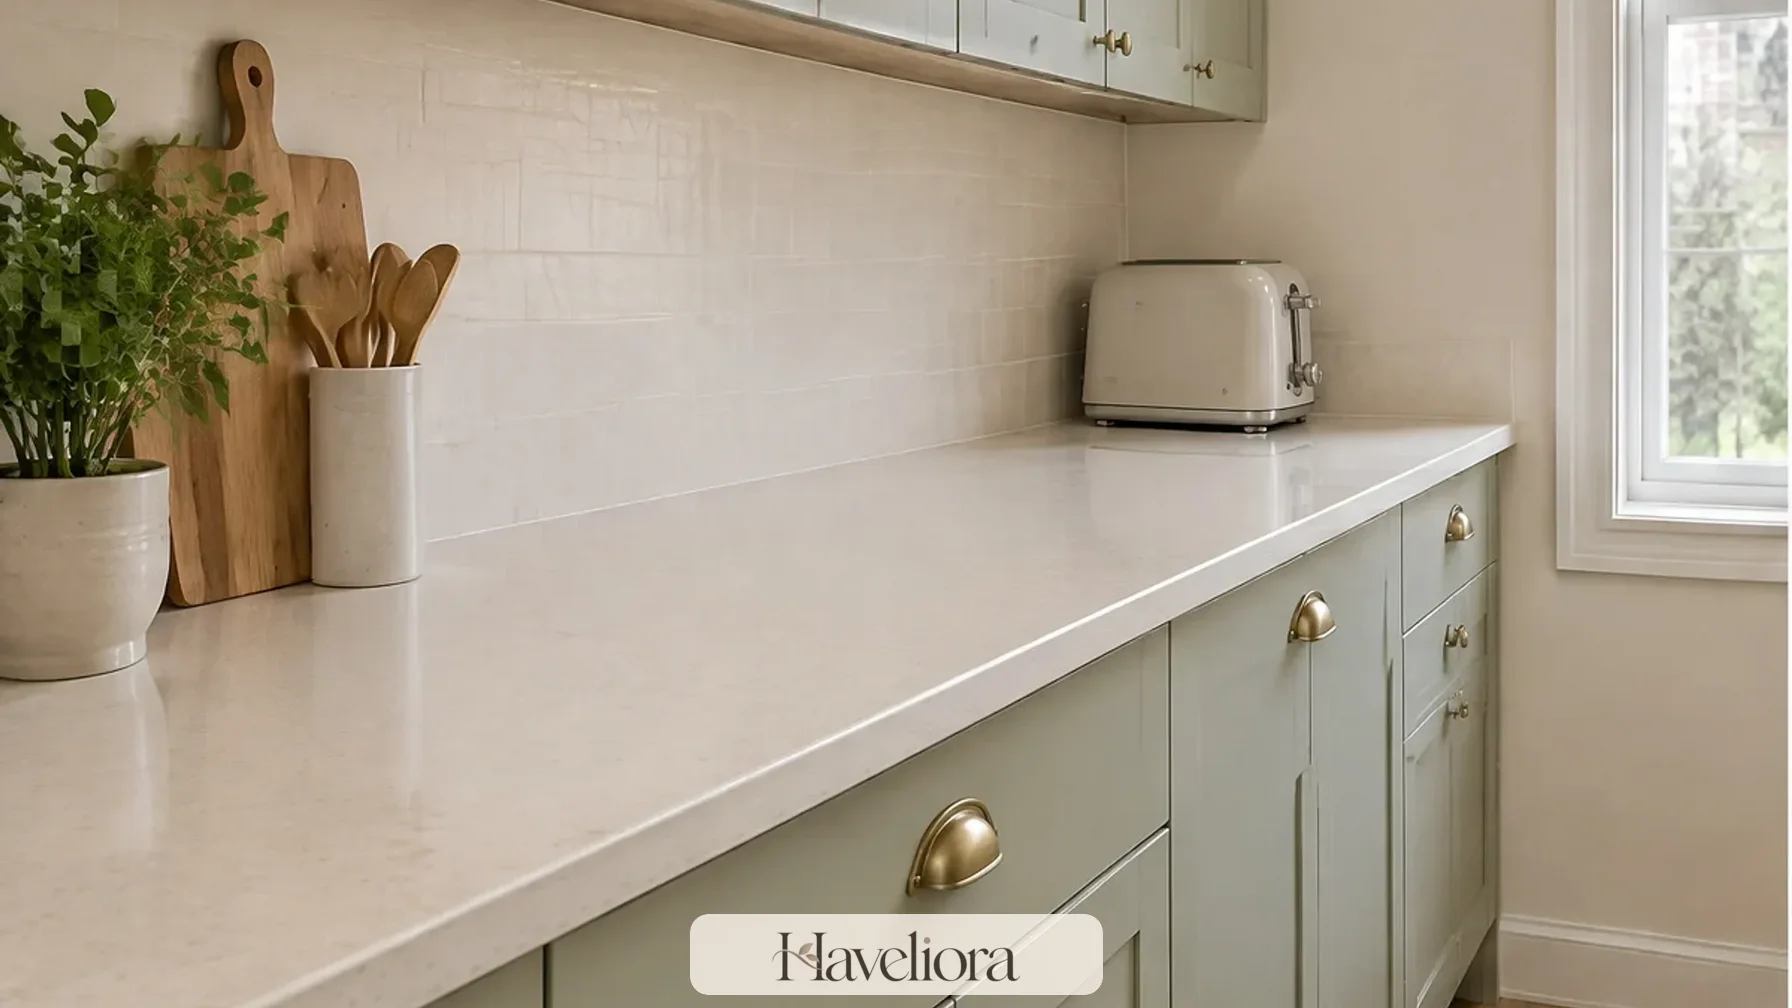
Use a tray only to contain, not to create clutter
A tray can group a kettle, sugar bowl and small container of tea, making the setup easier to move for cleaning. It should not become a platform for every coffee accessory. Leave enough counter exposed that the station can still function.
Use vertical storage carefully
Wall shelves can free counter space, but daily mugs and heavy containers should remain comfortable to reach. A shallow cabinet often provides more practical storage than several decorative shelves while keeping visual clutter under control.
Share storage with a nearby pantry
The working station only needs daily supplies. Backstock can live elsewhere. This is often the most important small-space decision because it protects the limited counter from becoming a miniature grocery shelf.
In an extremely tight kitchen, test whether the station should replace another function rather than be added on top of everything else. A rarely used section of display shelving may become more valuable as closed mug storage, or a decorative console near the kitchen may work better as the drink zone than sacrificing the primary preparation counter. Small spaces improve when functions are reassigned deliberately, not when another layer of furniture is squeezed into the room.
For more compact planning, see Haveliora’s small kitchen ideas.
Design the station for guests without making it inconvenient for the household
A beverage station can be useful during gatherings because it gives guests an obvious place to make coffee, pour water or find a glass. The everyday user, however, should remain the primary design reference. A station used twice daily by the household should not become less efficient in order to look like a hotel coffee bar for occasional visitors.
Make the self-service items obvious
Glasses, mugs, napkins and basic drink supplies can be easy to find without labeling every shelf. A small open shelf, glass-front cabinet or clearly organized drawer can communicate the zone’s purpose naturally.
Keep private or specialty supplies separate
Expensive coffee equipment, supplements or items not intended for guests can remain in closed storage. The station does not need to expose its entire inventory simply because part of it is self-service.
If children use the zone independently, place appropriate cups and nonhazardous supplies where they can reach them without climbing or working around hot appliances. The kettle, espresso machine and other heat sources should remain positioned for safe adult use according to manufacturer guidance.
For entertaining, think about the return trip as well as self-service. Guests may be able to make a drink easily, but used glasses and mugs still need somewhere to go. If the dishwasher is on the opposite side of the kitchen, a small tray or clearly accessible landing area can keep dirty cups from accumulating beside the machine. A station is more successful when setup and cleanup are both obvious.
Plan maintenance before adding more equipment
A beverage station concentrates water, coffee grounds, tea residue, milk and small appliances in one place. That can make cleanup easier when the surfaces are simple and service access is good, or harder when decorative details create many narrow gaps.
Leave enough room to wipe behind and beside the machine. Removable drip trays and water reservoirs should come out without hitting shelves. If the station has a sink, the faucet should not block upper doors or the machine’s refill path.
Consider consumables as part of maintenance. Water filters, descaling products, refrigerator filters and coffee-machine cleaning supplies need a nearby home or a reliable storage location elsewhere. A station that looks complete on installation day but has no plan for maintenance items will quickly spread into adjacent cabinets.
Noise and vibration also matter. Espresso grinders and blenders can be surprisingly loud inside hard cabinetry. Rubber feet, stable shelves and avoiding loose decorative objects nearby can reduce rattling, but appliance choice remains the biggest factor.
Schedule deeper maintenance by equipment rather than waiting for the whole station to feel dirty. Coffee-machine descaling, refrigerator filter changes and cleaning behind appliances happen on different cycles. Keeping manuals, model numbers or maintenance notes in one digital place can make those tasks easier without storing paperwork in the beverage cabinet itself. The station should remain a working zone, not become the archive for every accessory that came with an appliance.
Set the budget around function and future flexibility
A beverage station can range from a low-cost reorganization of existing cabinetry to a fully plumbed custom installation. The best place to spend depends on the routine. For frequent espresso use, a stable worktop, appropriate power and easy cleaning may matter more than expensive cabinet fronts. For entertaining, refrigeration and glass storage may deliver more value.
Custom pocket doors, plumbing, stone fabrication, dedicated refrigeration and electrical changes add cost quickly. A simpler open niche with good lighting can achieve most of the functional benefit if concealment is not essential.
Keep future appliances in mind without overbuilding. Coffee machines change, and a cabinet designed around one exact model can become obsolete. Allowing reasonable vertical space, accessible outlets and a flexible counter can make the station easier to update later.
Separate the budget into infrastructure and finish. Electrical work, plumbing, ventilation, refrigeration clearances and durable work surfaces affect function for years, while cabinet color, decorative hardware and accessories are easier to change. If compromises are necessary, simplify the visual layer before reducing access, clearances or serviceability. A station with modest finishes and excellent workflow will usually age better than an elaborate one built too tightly around today’s equipment.
| Priority | Spend first on | Can often simplify |
|---|---|---|
| Daily coffee | Appliance clearance, outlet placement, easy-clean counter | Decorative shelving |
| Tea | Organized shallow storage, kettle landing area | Large built-in cabinetry |
| Family drinks | Accessible glasses, water and practical storage | Specialty coffee hardware |
| Entertaining | Clear serving surface, glass storage, optional refrigeration | Permanent display accessories |
| Small kitchen | Protected counter space and compact storage | Secondary sink or duplicate appliances |
Final perspective
A successful kitchen beverage station is not defined by how many appliances it contains. It is defined by how smoothly a drink moves from storage to preparation to cleanup without interfering with the rest of the kitchen.
Start with the actual routine, place the station where traffic makes sense, measure appliances in use, preserve a clear landing surface and keep daily supplies close. Add doors, refrigeration, plumbing or decorative finishes only when they improve that workflow. When the planning is right, even a small section of counter can function as a complete beverage station—and remain useful long after the current trend label disappears.
Other Articles
Curbless Shower Ideas for a More Accessible, Open Bathroom
Kitchen Banquette Seating Ideas for a Better Everyday Dining Zone