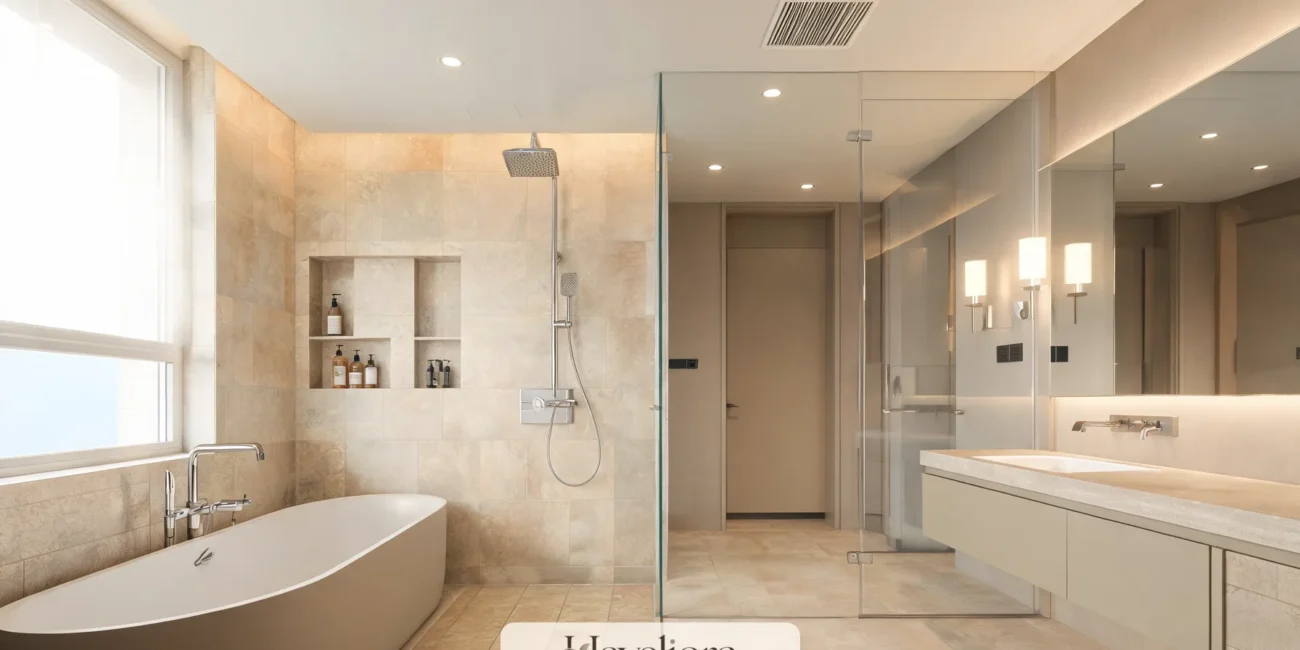
A wet room is not simply a shower without a door. It is a bathroom planned so that a defined part of the room can handle regular water exposure without relying on a conventional shower tray or raised threshold. In some layouts, the shower and bathtub share one waterproofed zone; in others, the shower occupies a broad open area behind a single fixed glass panel. The visual result can feel calm and spacious, but the success of the room depends on details that disappear beneath the tile: slope, drainage, waterproofing, ventilation and the relationship between wet and dry storage.
That planning can be especially valuable in a medium-size bathroom. A March 2026 Houzz project used a wet-room strategy to make a 127-square-foot primary bathroom more accessible and efficient, freeing space for a larger vanity, a semiprivate toilet zone and an exterior door. The lesson is not that every bathroom should copy that layout. It is that combining the tub and shower into one technically resolved wet zone can sometimes use floor area more effectively than fitting a separate tub and enclosed shower side by side. See the 2026 Houzz wet-room project for the full case study.
Decide how much of the bathroom should actually be wet
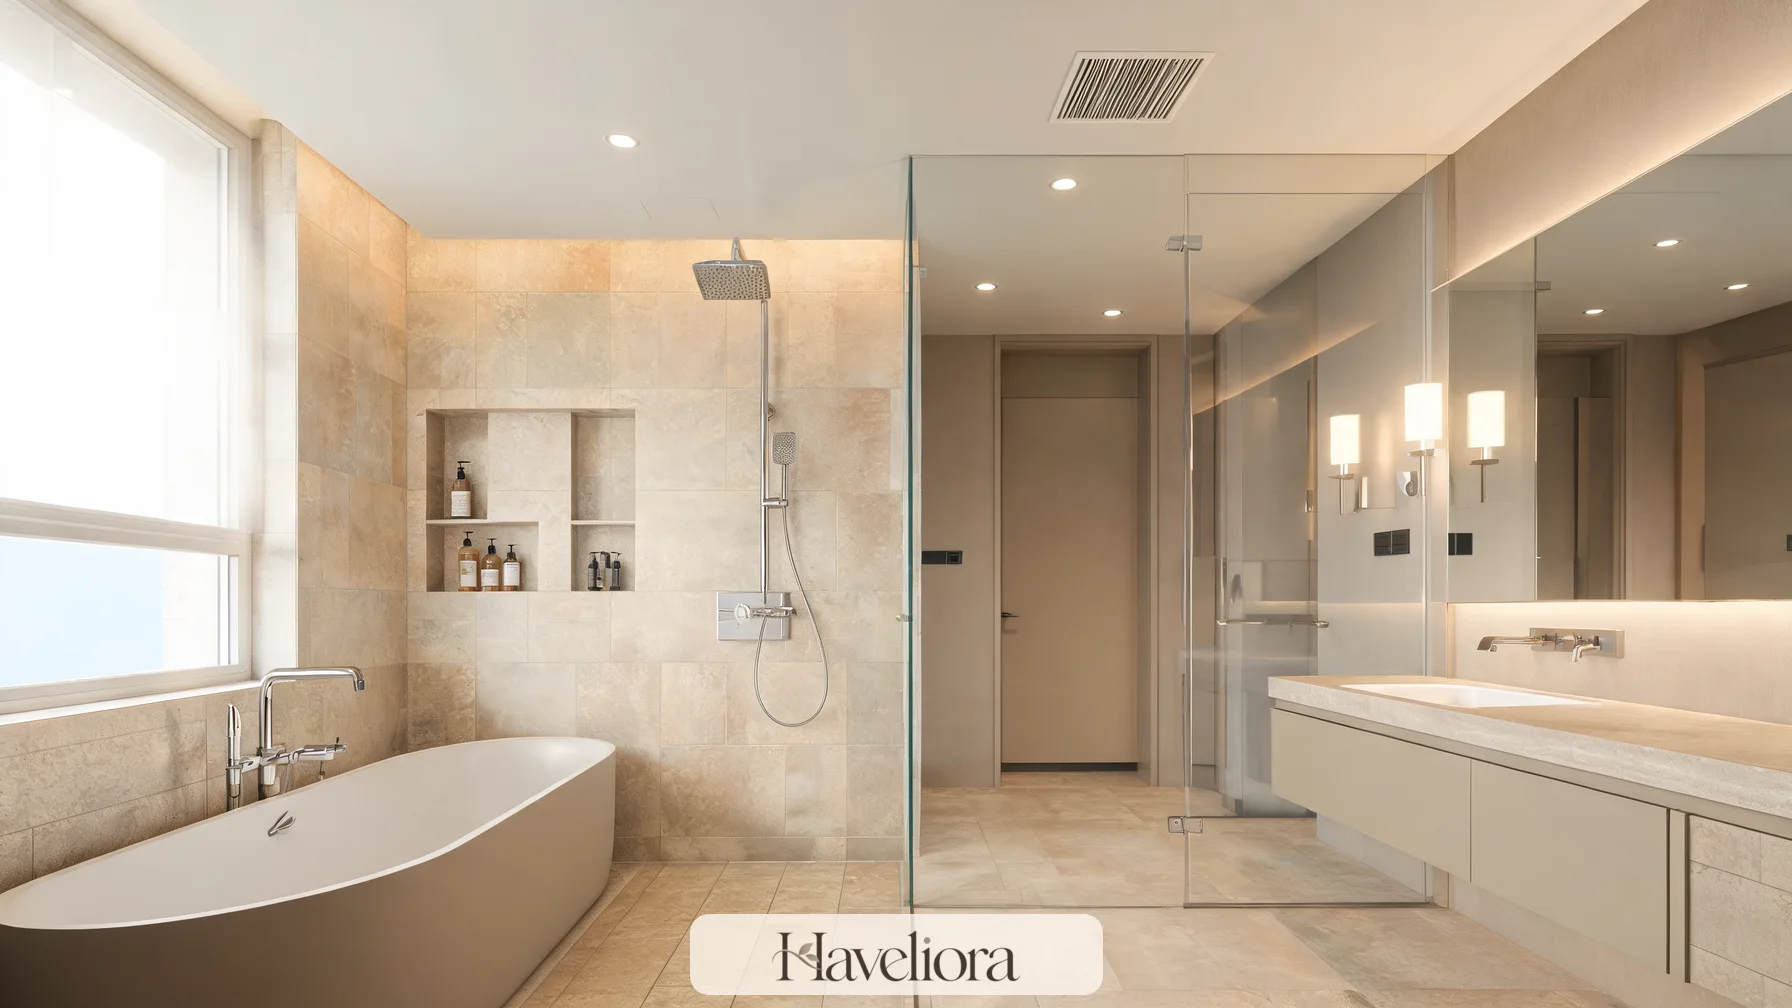
The term “wet room” can describe several degrees of openness. One project may waterproof the entire bathroom floor and most walls. Another may create a large shower-and-tub zone behind glass while keeping the vanity and toilet clearly dry. The correct scope depends on the room, not the label.
A fully open room
A truly open wet room can work when the floor is designed as one drainage system and the room is large enough for towels, toilet paper and cabinetry to remain outside direct spray. It can simplify movement and make a compact room feel visually continuous, but it places greater demands on waterproofing and ventilation.
A contained wet zone
For many homes, a contained wet zone is more practical. The shower and possibly the tub sit behind one fixed glass panel or a frameless door, while the vanity and toilet remain in a drier part of the room. This preserves the open character without exposing every surface to the same amount of water.
Before choosing the most minimal enclosure, map where water will actually travel. A hand shower, rain head, child splashing in a tub or strong shower spray can wet areas that a static rendering does not show.
Use the layout to separate wet and dry functions
Good wet rooms feel open because the zones are clear, not because everything is exposed. Place water-intensive fixtures together so the dry side of the bathroom can operate normally while someone is showering.
Group the shower and tub when it improves flow
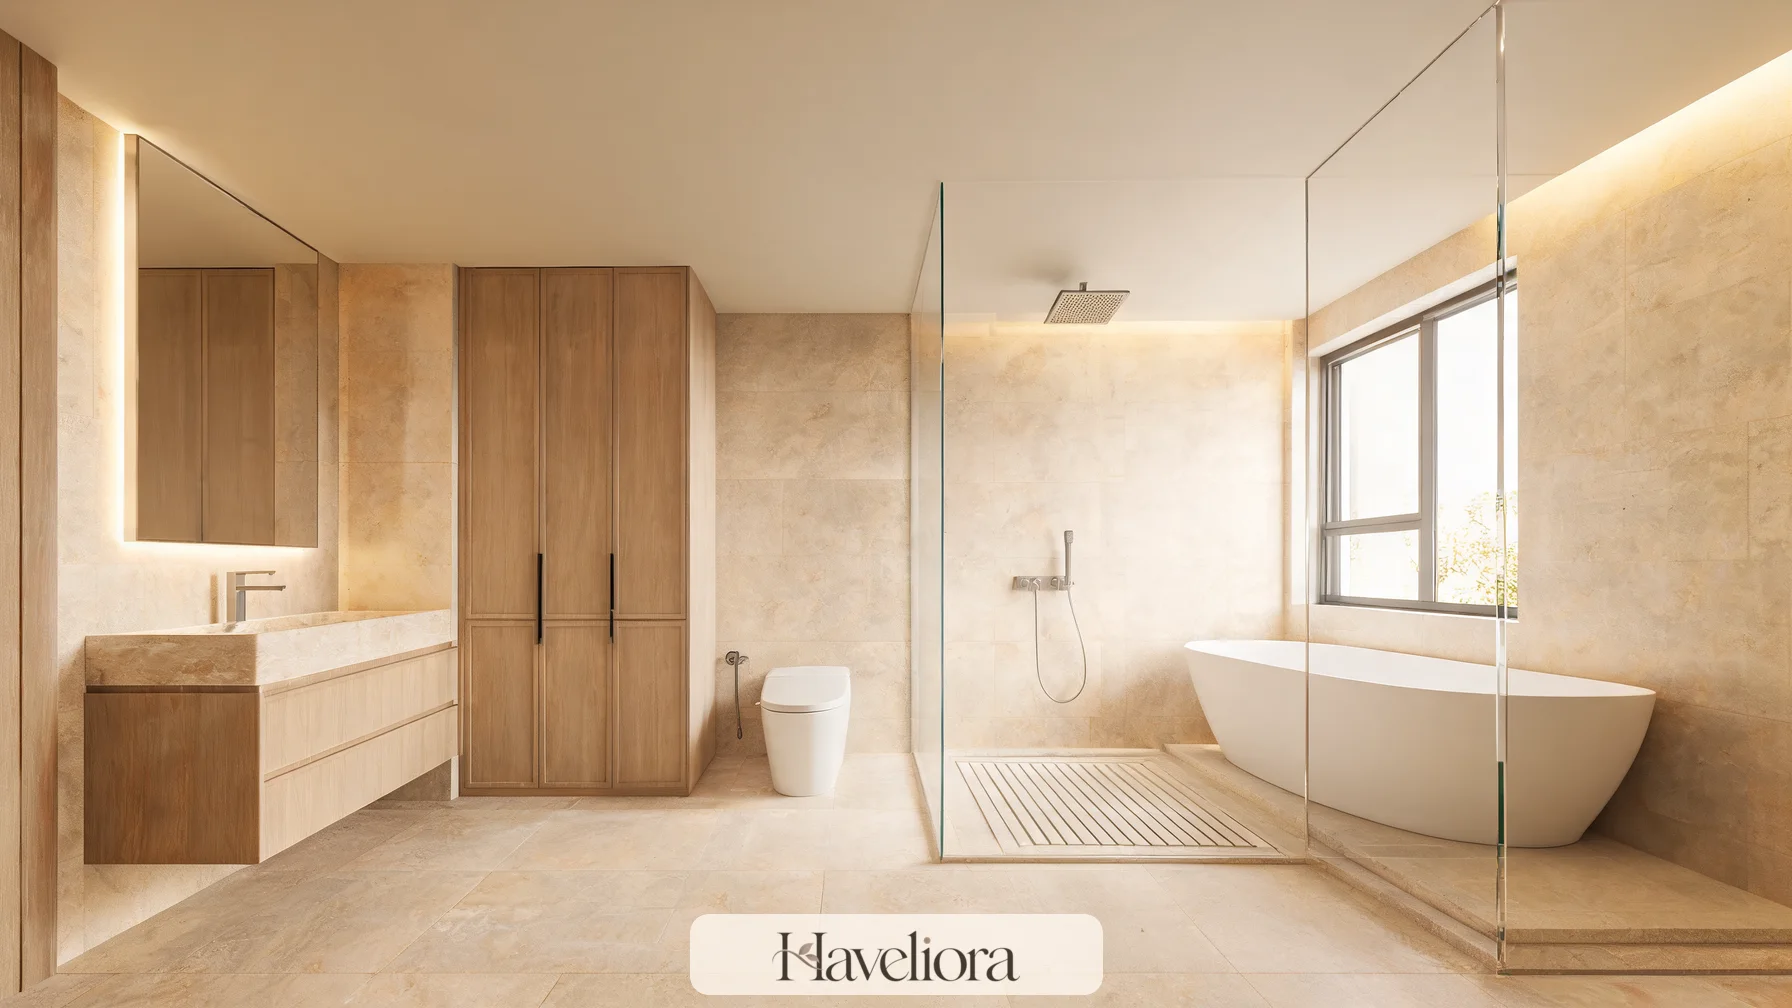
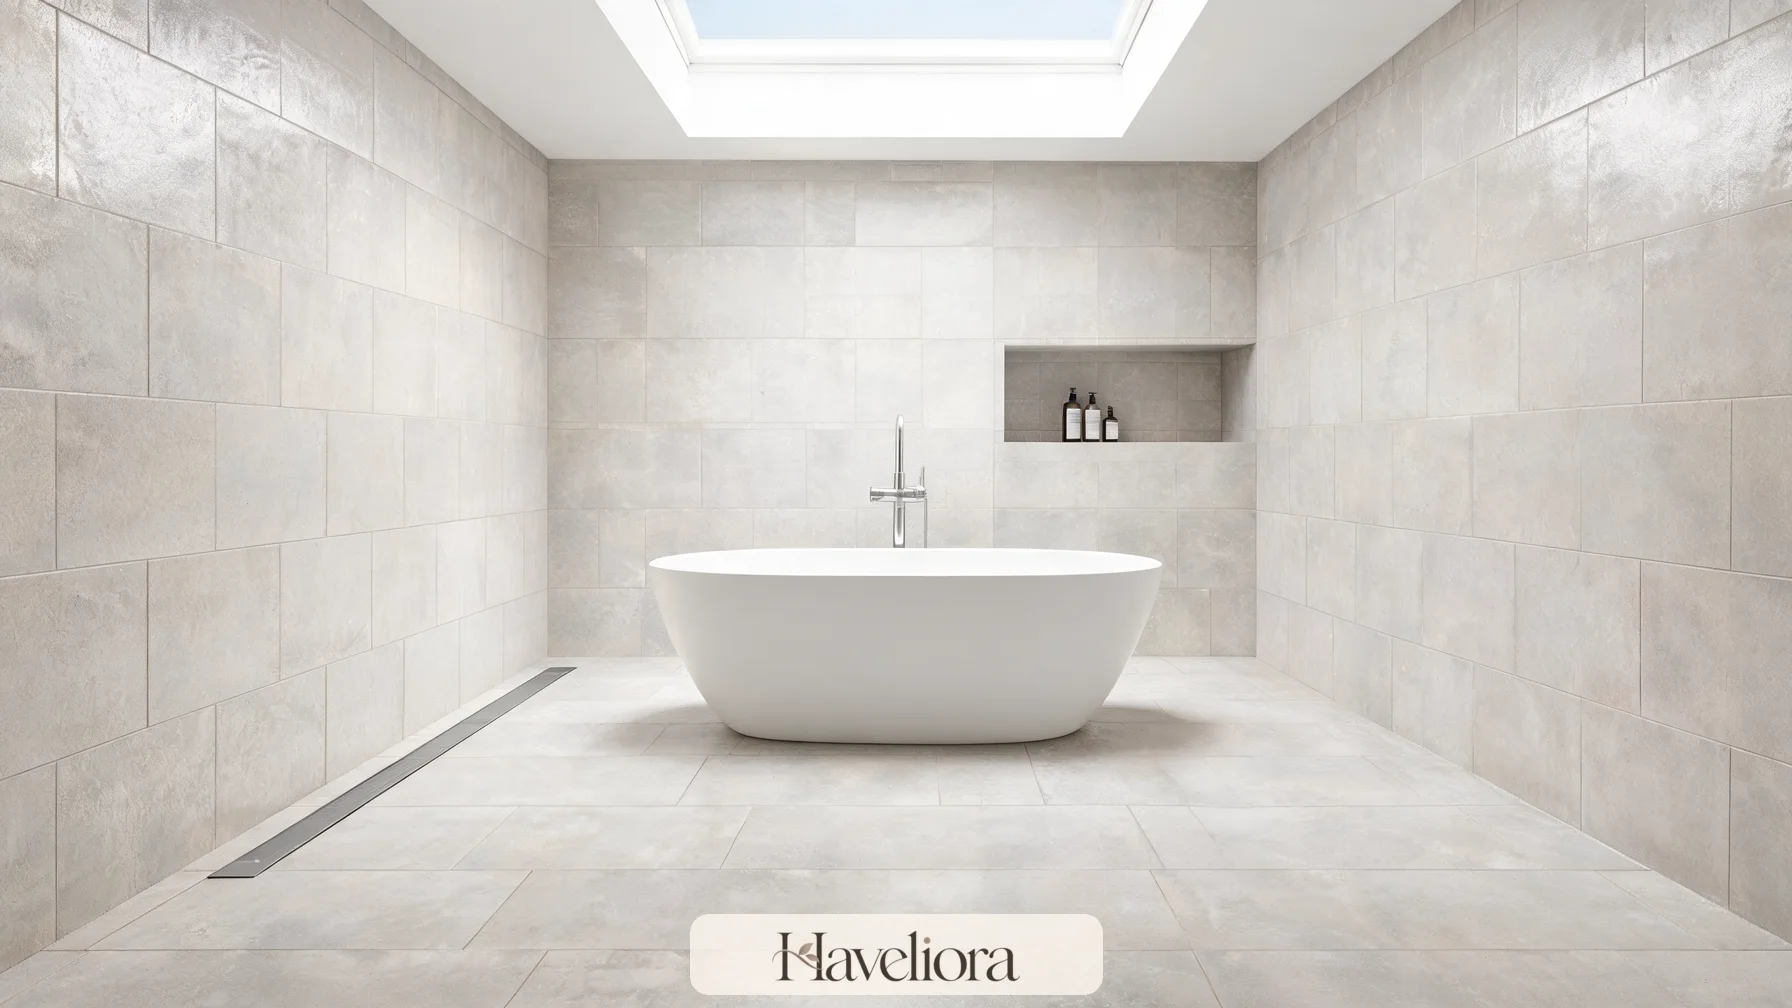
Putting a freestanding tub inside the shower zone can eliminate a separate shower enclosure and reduce the number of visual boundaries in the room. It also means the space around the tub can get wet safely, which can make bathing children or rinsing the tub easier. The trade-off is maintenance: the outside of the tub will receive overspray and needs enough clearance for cleaning.
Keep the vanity genuinely dry
A floating vanity can make the floor look continuous, but it should not be used as a substitute for a proper splash boundary. Towels, grooming products, drawer fronts and electrical items should stay outside the regular spray path. If the vanity sits close to the wet zone, a longer glass panel may be more useful than a completely open entry.
Protect the toilet area
Toilet paper, towels and upholstered accessories should not be positioned where shower spray reaches them. In a small room, even a modest pony wall, glass return or change in orientation can help keep the toilet zone more comfortable.
Plan the floor as one drainage and waterproofing system
The floor is the technical heart of the room. A wet-room design must move water toward the drain while maintaining a comfortable, predictable transition through the space. The exact slope, drain system and waterproofing assembly should be designed and installed by qualified professionals using compatible products.
Linear drains can simplify the visual field
A linear drain can support a single-direction slope in some layouts, making it easier to use larger tile or create a quieter floor pattern. It should still be placed where water naturally moves and where the grate can be removed for cleaning.
Point drains need multidirectional slope
A point drain commonly requires the floor around it to pitch from several directions. Smaller tile can adapt to those changing planes more easily because additional grout joints allow gradual changes in angle.
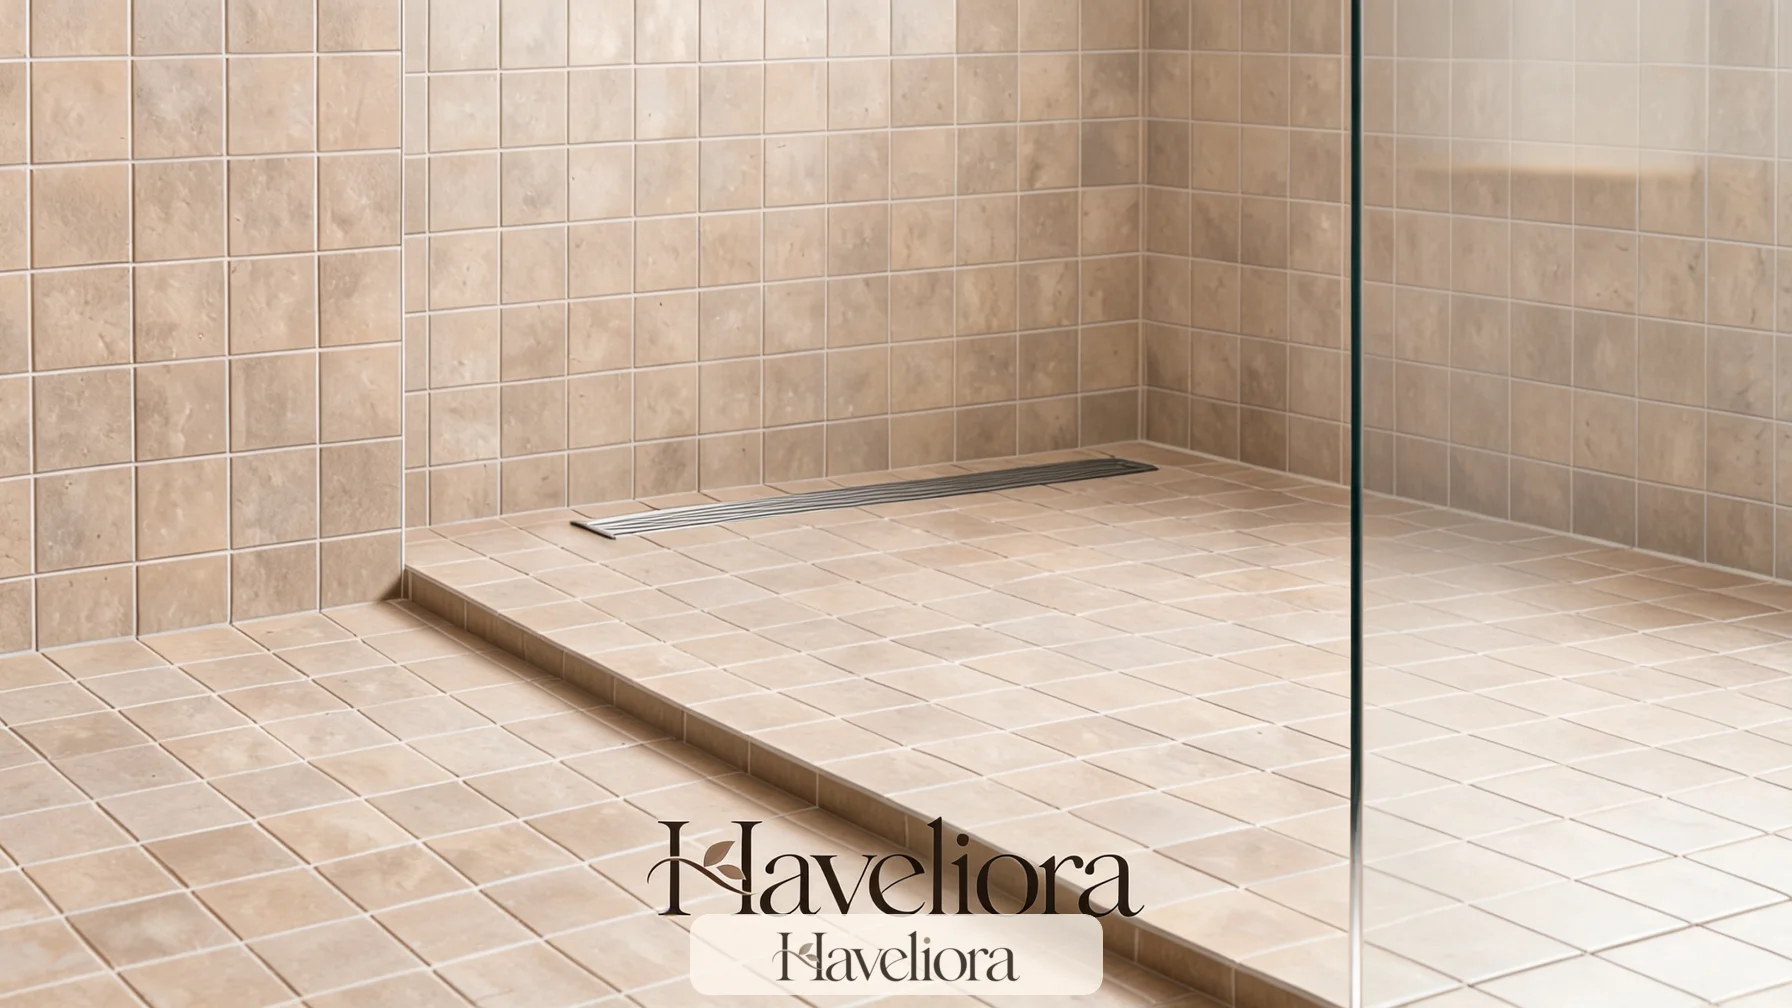
The visible drain is only one part of the assembly. Waterproofing at corners, wall junctions, glass fixings, pipe penetrations and any bench or niche must remain continuous. A beautiful tile surface cannot compensate for a weak detail beneath it.
Test the floor strategy before tile is ordered
A wet-room floor should be reviewed as a complete geometry rather than a collection of attractive tile samples. Ask the installer to explain where the highest and lowest points will sit, how the bathroom door threshold relates to the finished floor, and whether water from the tub or handheld shower can reach the dry side. If the room includes underfloor heating, coordinate the heating system with the waterproofing and drainage build-up so one trade does not compromise another. A simple dimensioned section through the room can reveal conflicts that are difficult to understand from a plan alone.
In renovations, also check the transition into the adjacent room. Raising the whole bathroom to create slope may introduce an uncomfortable step at the doorway, while recessing only the wet zone can affect framing or slab depth. Resolve that change before finishes are selected.
Choose floor materials for wet traction and realistic cleaning
A wet room can expose a larger floor area to water than a conventional enclosed shower, so floor selection should consider wet use from the beginning. Review the manufacturer’s intended-use information rather than assuming a textured appearance guarantees appropriate traction.
Small-format tile
Mosaics and small-format porcelain create more grout joints and can follow complex slopes easily. They work particularly well around point drains or irregular wet zones. The trade-off is more grout to clean.
Large-format tile
Large porcelain tiles can make the room feel calm and continuous, especially with a linear drain. They require precise substrate preparation and careful layout to avoid lippage and awkward cuts where the slope changes.
Natural stone
Stone can be beautiful, but different materials have different porosity, sealing and cleaning requirements. If low maintenance is a priority, confirm how the chosen stone behaves in a heavily wet environment before committing to it.
For more ideas on creating warmth without sacrificing function, see Haveliora’s warm bathroom ideas.
Keep grout and edge details simple
Large wet zones accumulate soap, shampoo and mineral residue across more floor area than a compact shower tray. Avoid creating decorative borders, tiny tile ledges or multiple changes in grout color unless they serve a real design purpose. Fewer transitions make squeegeeing and periodic deep cleaning faster and reduce the number of joints that may eventually need repair.
If the room uses the same tile inside and outside the wet zone, keep the grout specification consistent where possible. A visually continuous floor is easier to maintain when the installer can use one compatible system rather than several unrelated materials meeting at the shower edge.
Consider the bathtub as part of the wet zone
A tub inside the wet area can make the bathroom feel more generous because the shower and bath share circulation space. It works best when the tub is intentionally positioned for cleaning, access and water control rather than simply placed under the showerhead.
Leave cleaning clearance
A freestanding tub pushed tightly against two tiled walls can create a narrow gap that collects dust and moisture but is impossible to reach. Either allow enough space to clean around it or choose a built-in solution that eliminates inaccessible voids.
Keep tub controls convenient
Wall-mounted or deck-mounted fillers should be reachable without stepping awkwardly behind the tub. If the tub shares the shower zone, the plumbing layout should also consider the handheld shower and any shower controls so the fixtures do not compete.
Think about getting in and out
A dramatic sculptural tub can still be difficult to use if the rim is very high or the approach is slippery. Choose the form based on the people who will use it, not only how it looks in the room.
Plan the space beside the tub, not only around it
When a freestanding tub sits inside the wet room, leave realistic room for hands and cleaning tools between the tub and nearby walls or glass. A narrow two-inch gap may look precise in a drawing but can become impossible to wipe. If the room cannot spare meaningful clearance, a built-in or back-to-wall tub may be the more practical choice.
Also consider where bath products, a towel and a robe will go. A beautiful tub placed deep in the wet zone can feel inconvenient if every dry item is several steps away. A recessed niche on the dry side of the tub or a protected towel hook near the glass exit can improve daily use without adding freestanding clutter.
Use glass strategically instead of automatically
Glass can contain spray, preserve sightlines and keep the wet-room effect visually open. The right amount depends on how the shower is used.
One fixed panel
A fixed panel is often enough when the main showerhead sits deep in the wet zone and points away from the entry. The panel should be long enough to perform a real function; an undersized decorative sheet of glass may look minimal but allow water to reach the vanity or doorway.
A hinged return or door
In smaller rooms or powerful multi-spray showers, a hinged return can improve water control while remaining visually light. Check the swing against towel hooks, toilets and vanity drawers before ordering custom glass.

Also think about cleaning access. Glass placed a few inches from a tub, vanity or wall can create a strip of floor that cannot be wiped easily. A slightly different panel size or fixture position may solve that problem before fabrication.
Use the showerhead to reduce the burden on glass
Water control begins with the spray direction. A ceiling rain head placed well inside the wet zone and a wall-mounted showerhead aimed away from the opening can reduce splash more effectively than adding a larger sheet of glass after the fact. Hand showers need a cradle location that does not point directly toward the vanity or doorway when someone sets the handle down.
Test the intended positions during rough-in. A few inches of plumbing relocation may make the whole room drier and allow a smaller glass panel. This is a better use of design effort than choosing a minimal enclosure first and hoping the spray behaves later.
Control humidity, not just visible splash
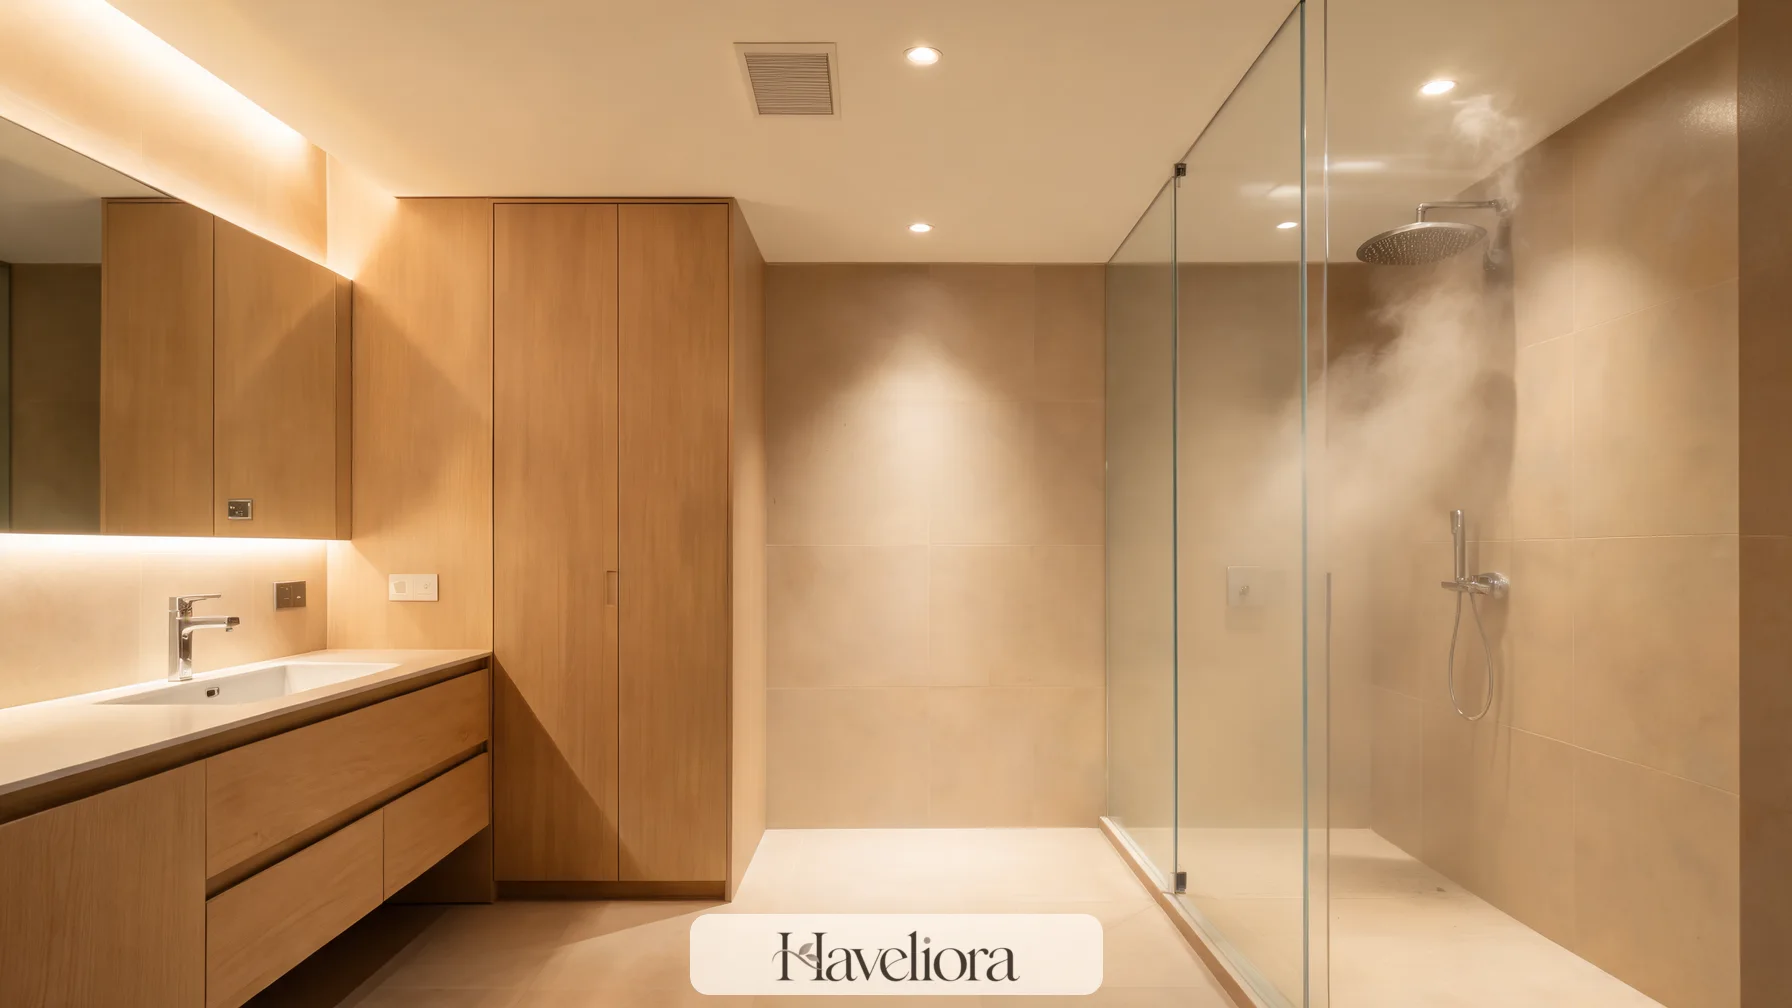
A wet room can distribute moisture across more surfaces, especially when the shower remains open after use. Mechanical ventilation therefore matters throughout the bathroom, not only above the shower.
Plan the air path
An exhaust fan works best when humid air can actually reach it. A large glass panel can create a pocket where steam lingers, while a tightly sealed bathroom door may reduce replacement air. Fan position, room volume and the path from door to exhaust should be considered together.
Help surfaces dry
Good air movement, appropriate heating and materials suited to bathroom humidity can help the room dry faster after use. Avoid storing folded towels or baskets of paper products immediately beside the wet area simply because they fit there.
If lighting and ventilation are being redesigned together, Haveliora’s bathroom lighting guide can help coordinate ambient, task and shower lighting.
Plan for drying after the water stops
A wet room should return to a dry, comfortable state reasonably quickly after use. In addition to mechanical exhaust, leave enough open air around the shower and tub for surfaces to dry. Avoid placing a thick bath mat permanently across the lowest part of the floor, because it can slow evaporation or obscure standing water that signals a drainage problem.
Where a window exists, it can contribute daylight and sometimes purge ventilation, but it should not be treated as a substitute for mechanical exhaust in a humid bathroom. Window frames, sills and adjacent finishes also need to suit the moisture exposure created by the wet zone.
Create storage that does not collect water
Wet-room storage should keep everyday products reachable without creating ledges that stay wet.
Use niches where they serve the routine
A single wide niche can hold the products used most often and reduce the need for wire caddies or bottles on the floor. Its base should drain toward the shower rather than hold water.
Keep backup storage outside the spray zone
Extra towels, toilet paper, medicines and grooming supplies belong in closed dry storage. A tall cabinet or vanity drawer outside the wet area is more practical than open shelving inside a humid zone.
Bench storage is usually a bad trade
A shower bench should be easy to sit on and easy to clean. Creating complicated open cubbies underneath can add edges that trap water and soap residue. Simpler forms are usually easier to maintain.
Layer lighting around the zones
Wet rooms often photograph beautifully in daylight but still need a complete lighting plan after sunset. The shower, tub, vanity and toilet area have different needs.
Light the shower floor
A wet-location-rated fixture can make the drain, bench and floor edge easier to see. Do not rely entirely on vanity lights across the room, especially when glass or darker tile reduces the light reaching the shower.
Protect the relaxing atmosphere
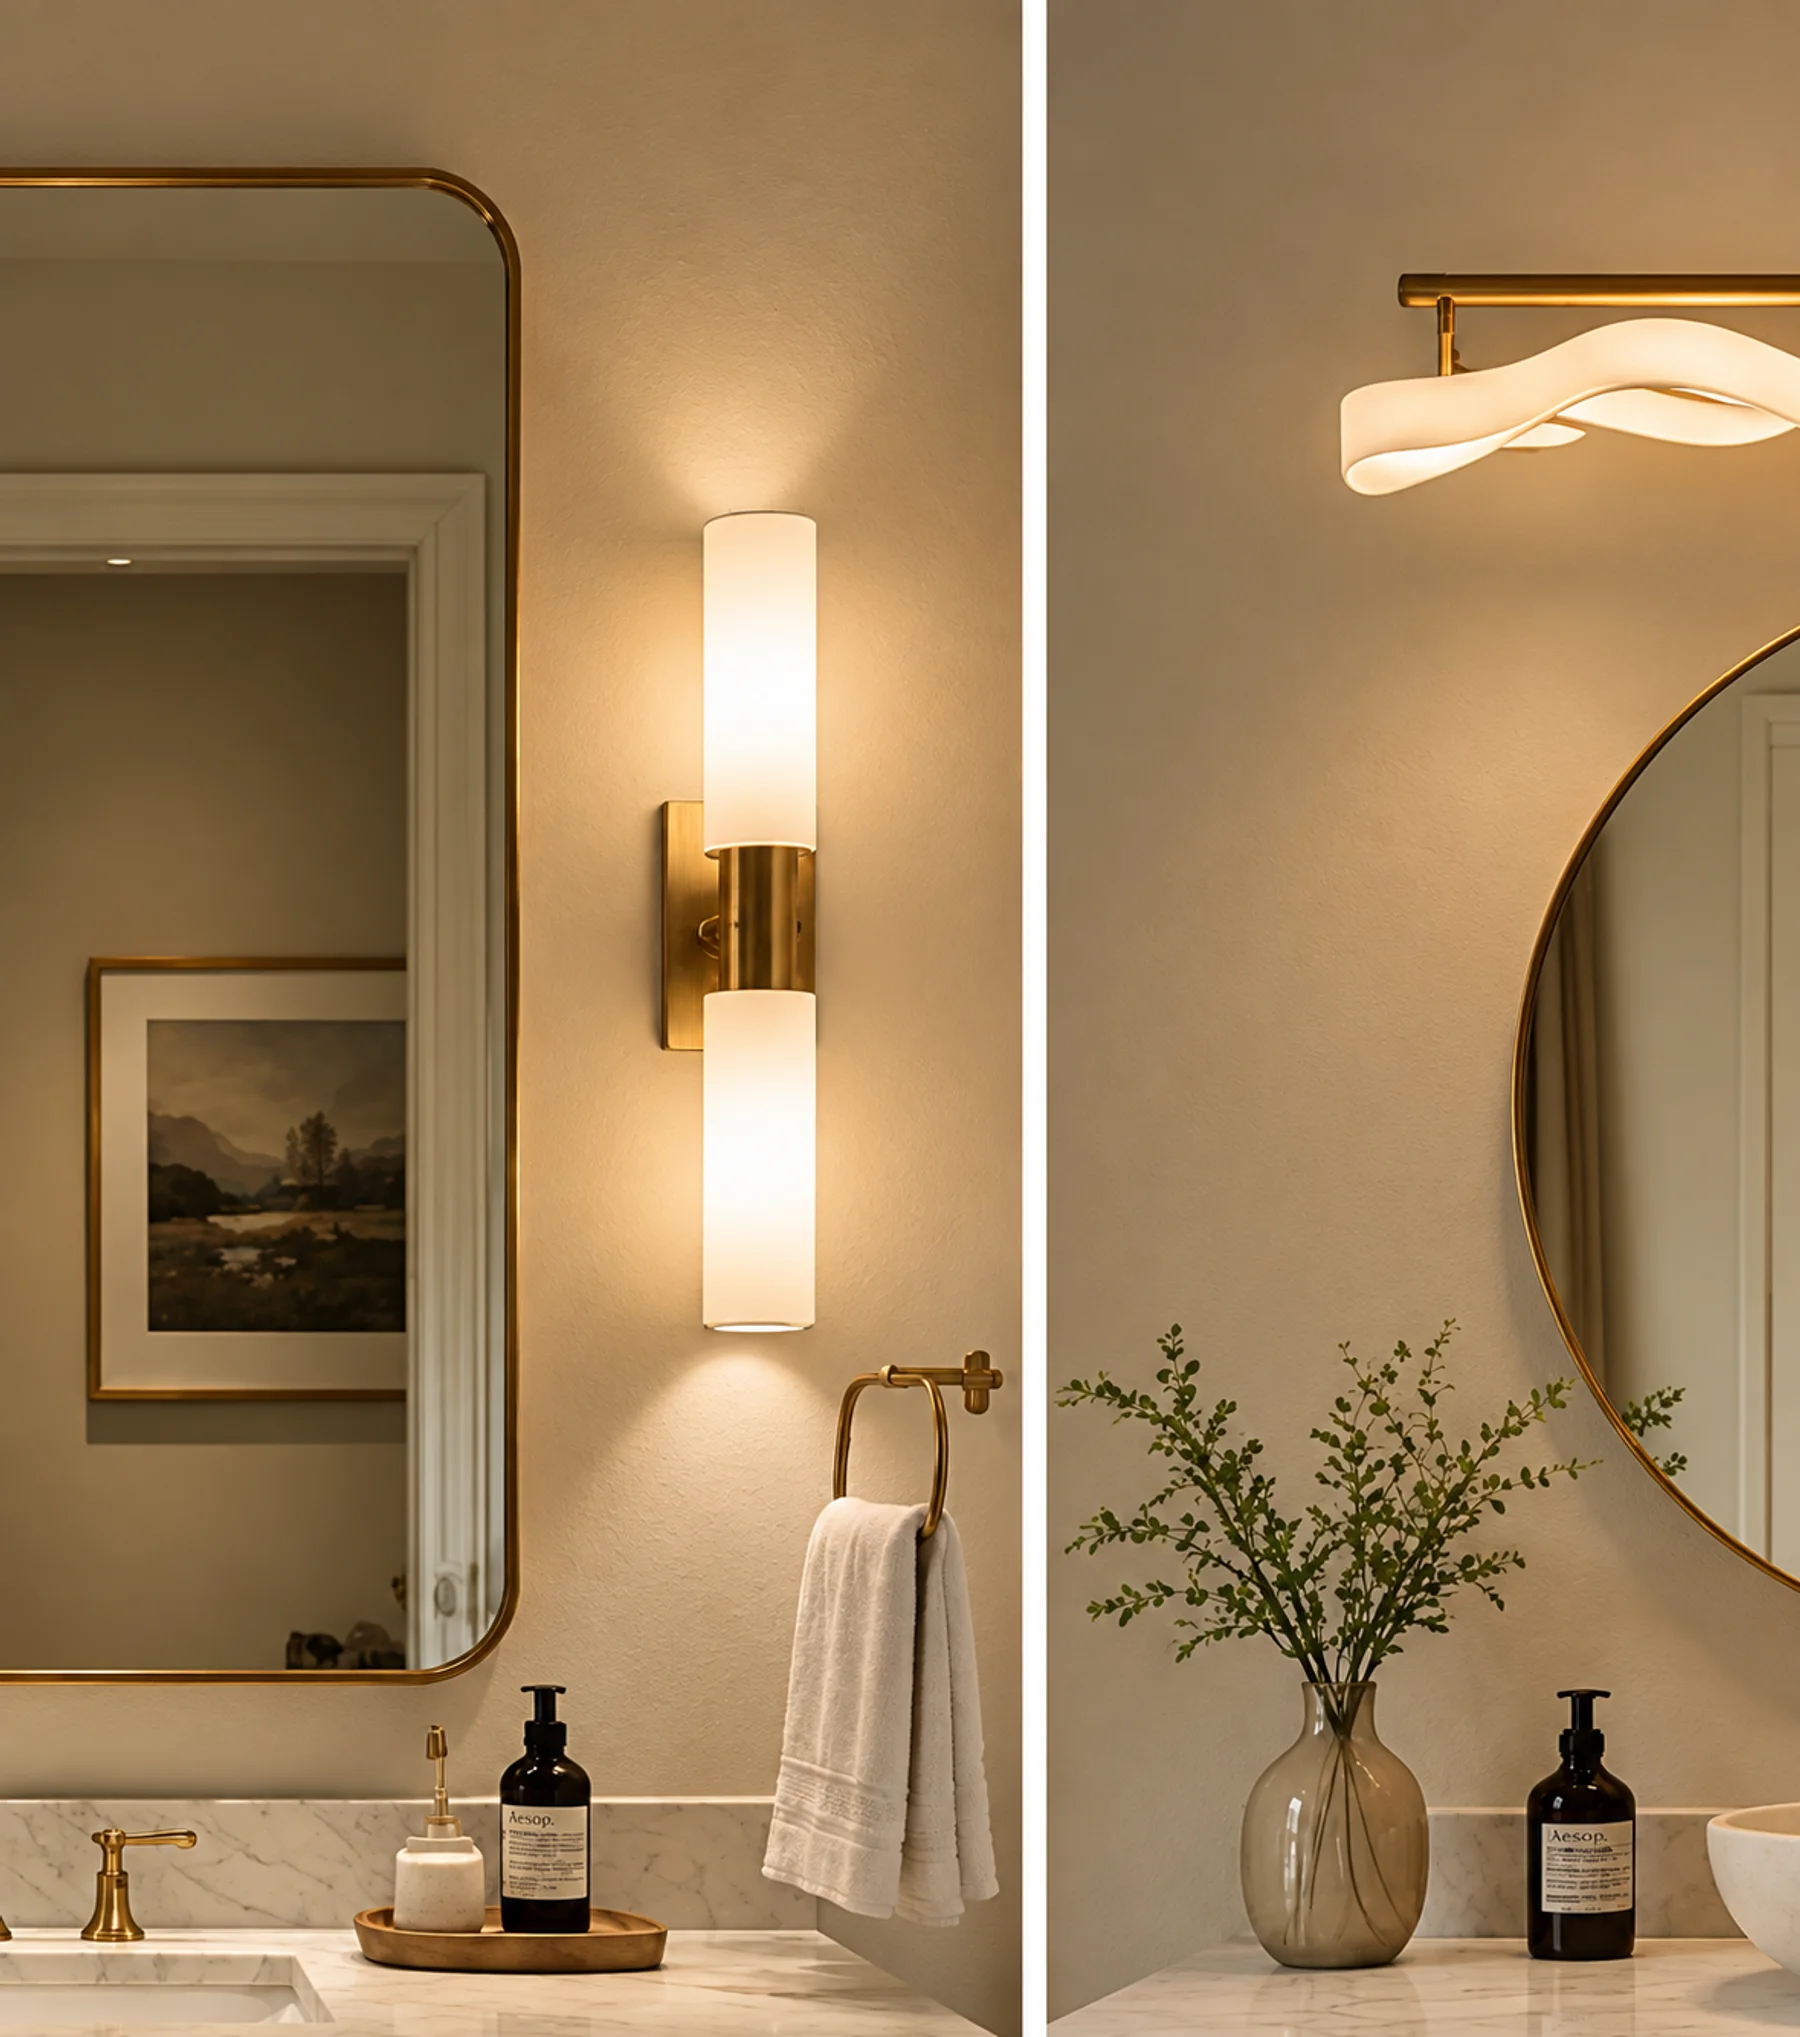
Dimming general light lets the room feel calmer during a bath without compromising bright task lighting at the mirror when needed. Warm materials such as oak, stone-look porcelain and linen-textured finishes are often more flattering under layered light than under one intense ceiling source.
Keep frequently used items on the dry side
The wet-room concept can encourage people to place attractive baskets, open shelves and towels throughout the room because the space feels visually unified. In practice, the most useful storage plan keeps daily dry items clearly outside the splash zone. Reserve wet-area niches for shampoo, soap and bathing products, then give towels, paper goods, medication and grooming tools closed storage on the dry side.
This separation also makes cleaning easier. The fewer movable objects sitting in the wet zone, the faster the floor and glass can be rinsed, squeegeed and dried.
Make the room future-friendly without making it clinical
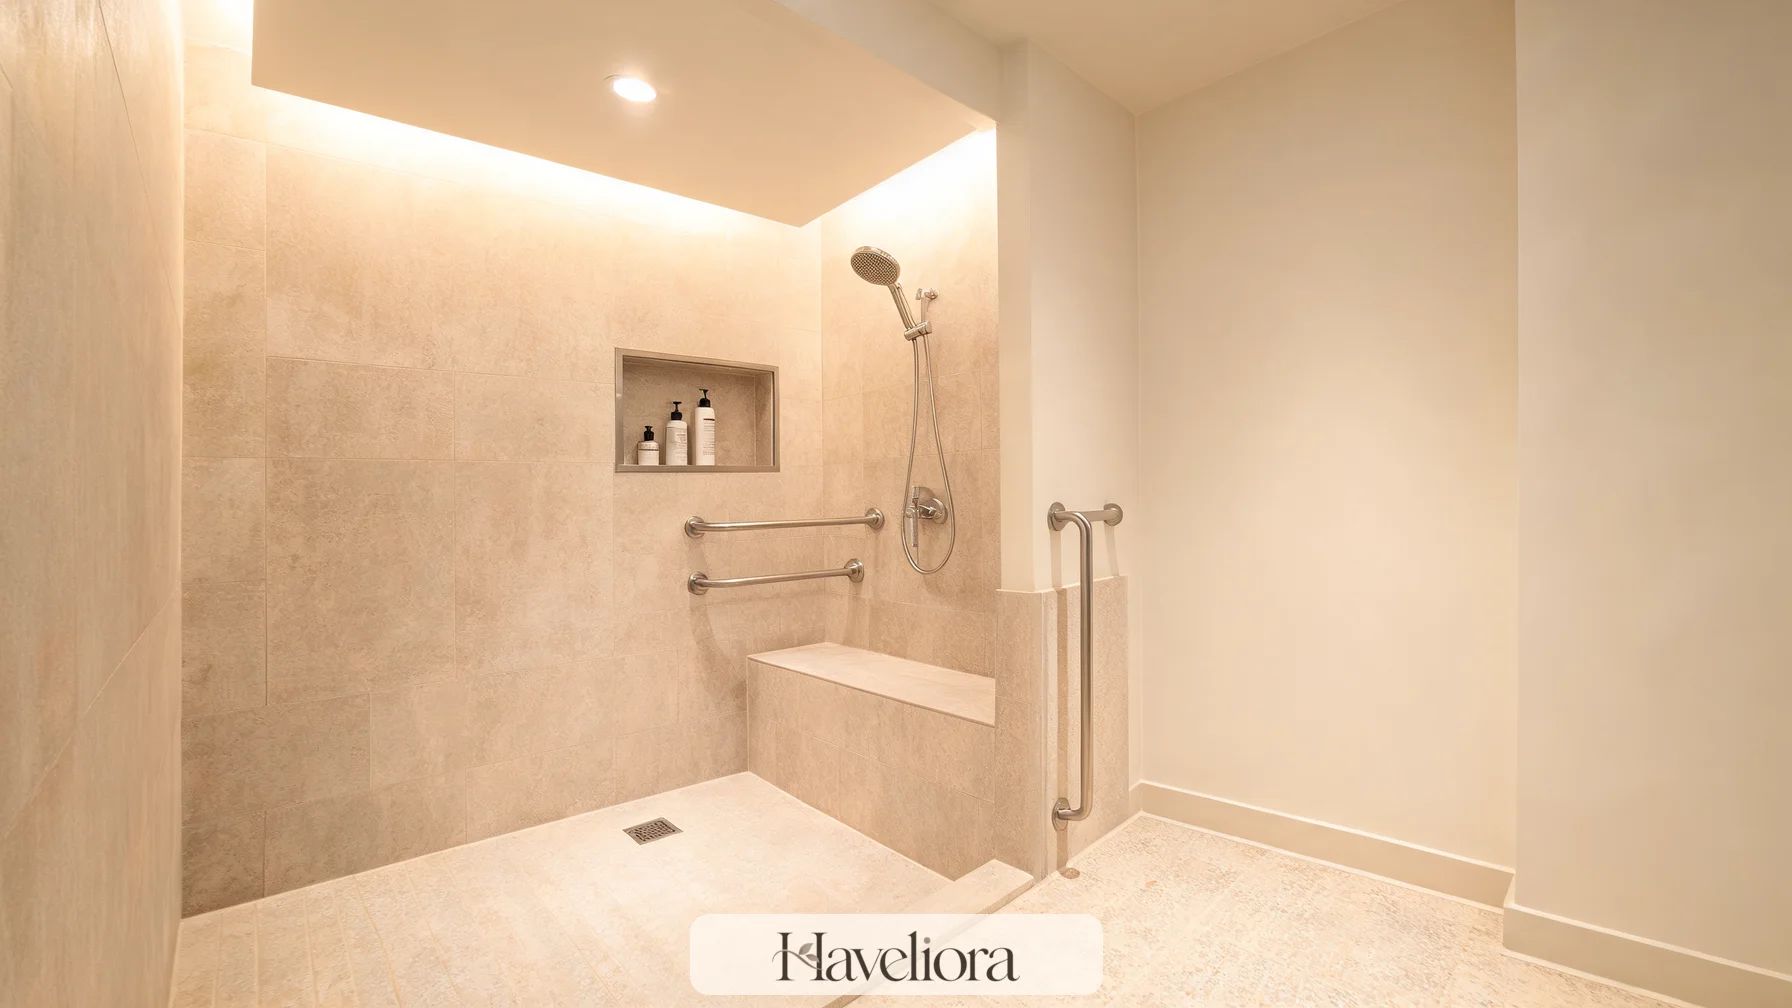
A wet room can support aging in place because it can reduce thresholds and simplify movement, but accessibility comes from the whole layout rather than from openness alone.
Plan reinforcement for future grab bars
If walls are open during renovation, structural backing can be added for future support bars even if they are not installed immediately. Photograph the locations before waterproofing and tile are completed so future work does not require guesswork.
Include a comfortable seat when useful
A built-in bench or properly installed fold-down seat can make showering easier during injury recovery or later life. The handheld shower and controls should be reachable from the seat if that is part of the intended use.
Protect the approach path
Keep the route from the bathroom door to the wet zone free of floor baskets, projecting drawer fronts and loose stools. A barrier-free shower is less useful if the rest of the room creates obstacles.
Plan controls for seated and standing use
If the room is being designed with future mobility in mind, locate the shower controls, hand shower and storage within a practical reach range rather than arranging them only for symmetry. A person should not need to step into the strongest spray to turn the water on. Where a bench is included, check that the hand shower can reach it without a hose stretching across the entry.
Structural backing for future support bars is inexpensive while the walls are open. Photograph and measure the backing before waterproofing and tile conceal it. That record gives a future installer flexibility without guessing where solid fixing points exist.
Use a wet room carefully in a small bathroom
Compact bathrooms can benefit from a wet-room strategy because one waterproofed zone may use space more efficiently than a separate shower enclosure. But the smaller the room, the harder it becomes to protect towels, toilet paper and the vanity from spray.
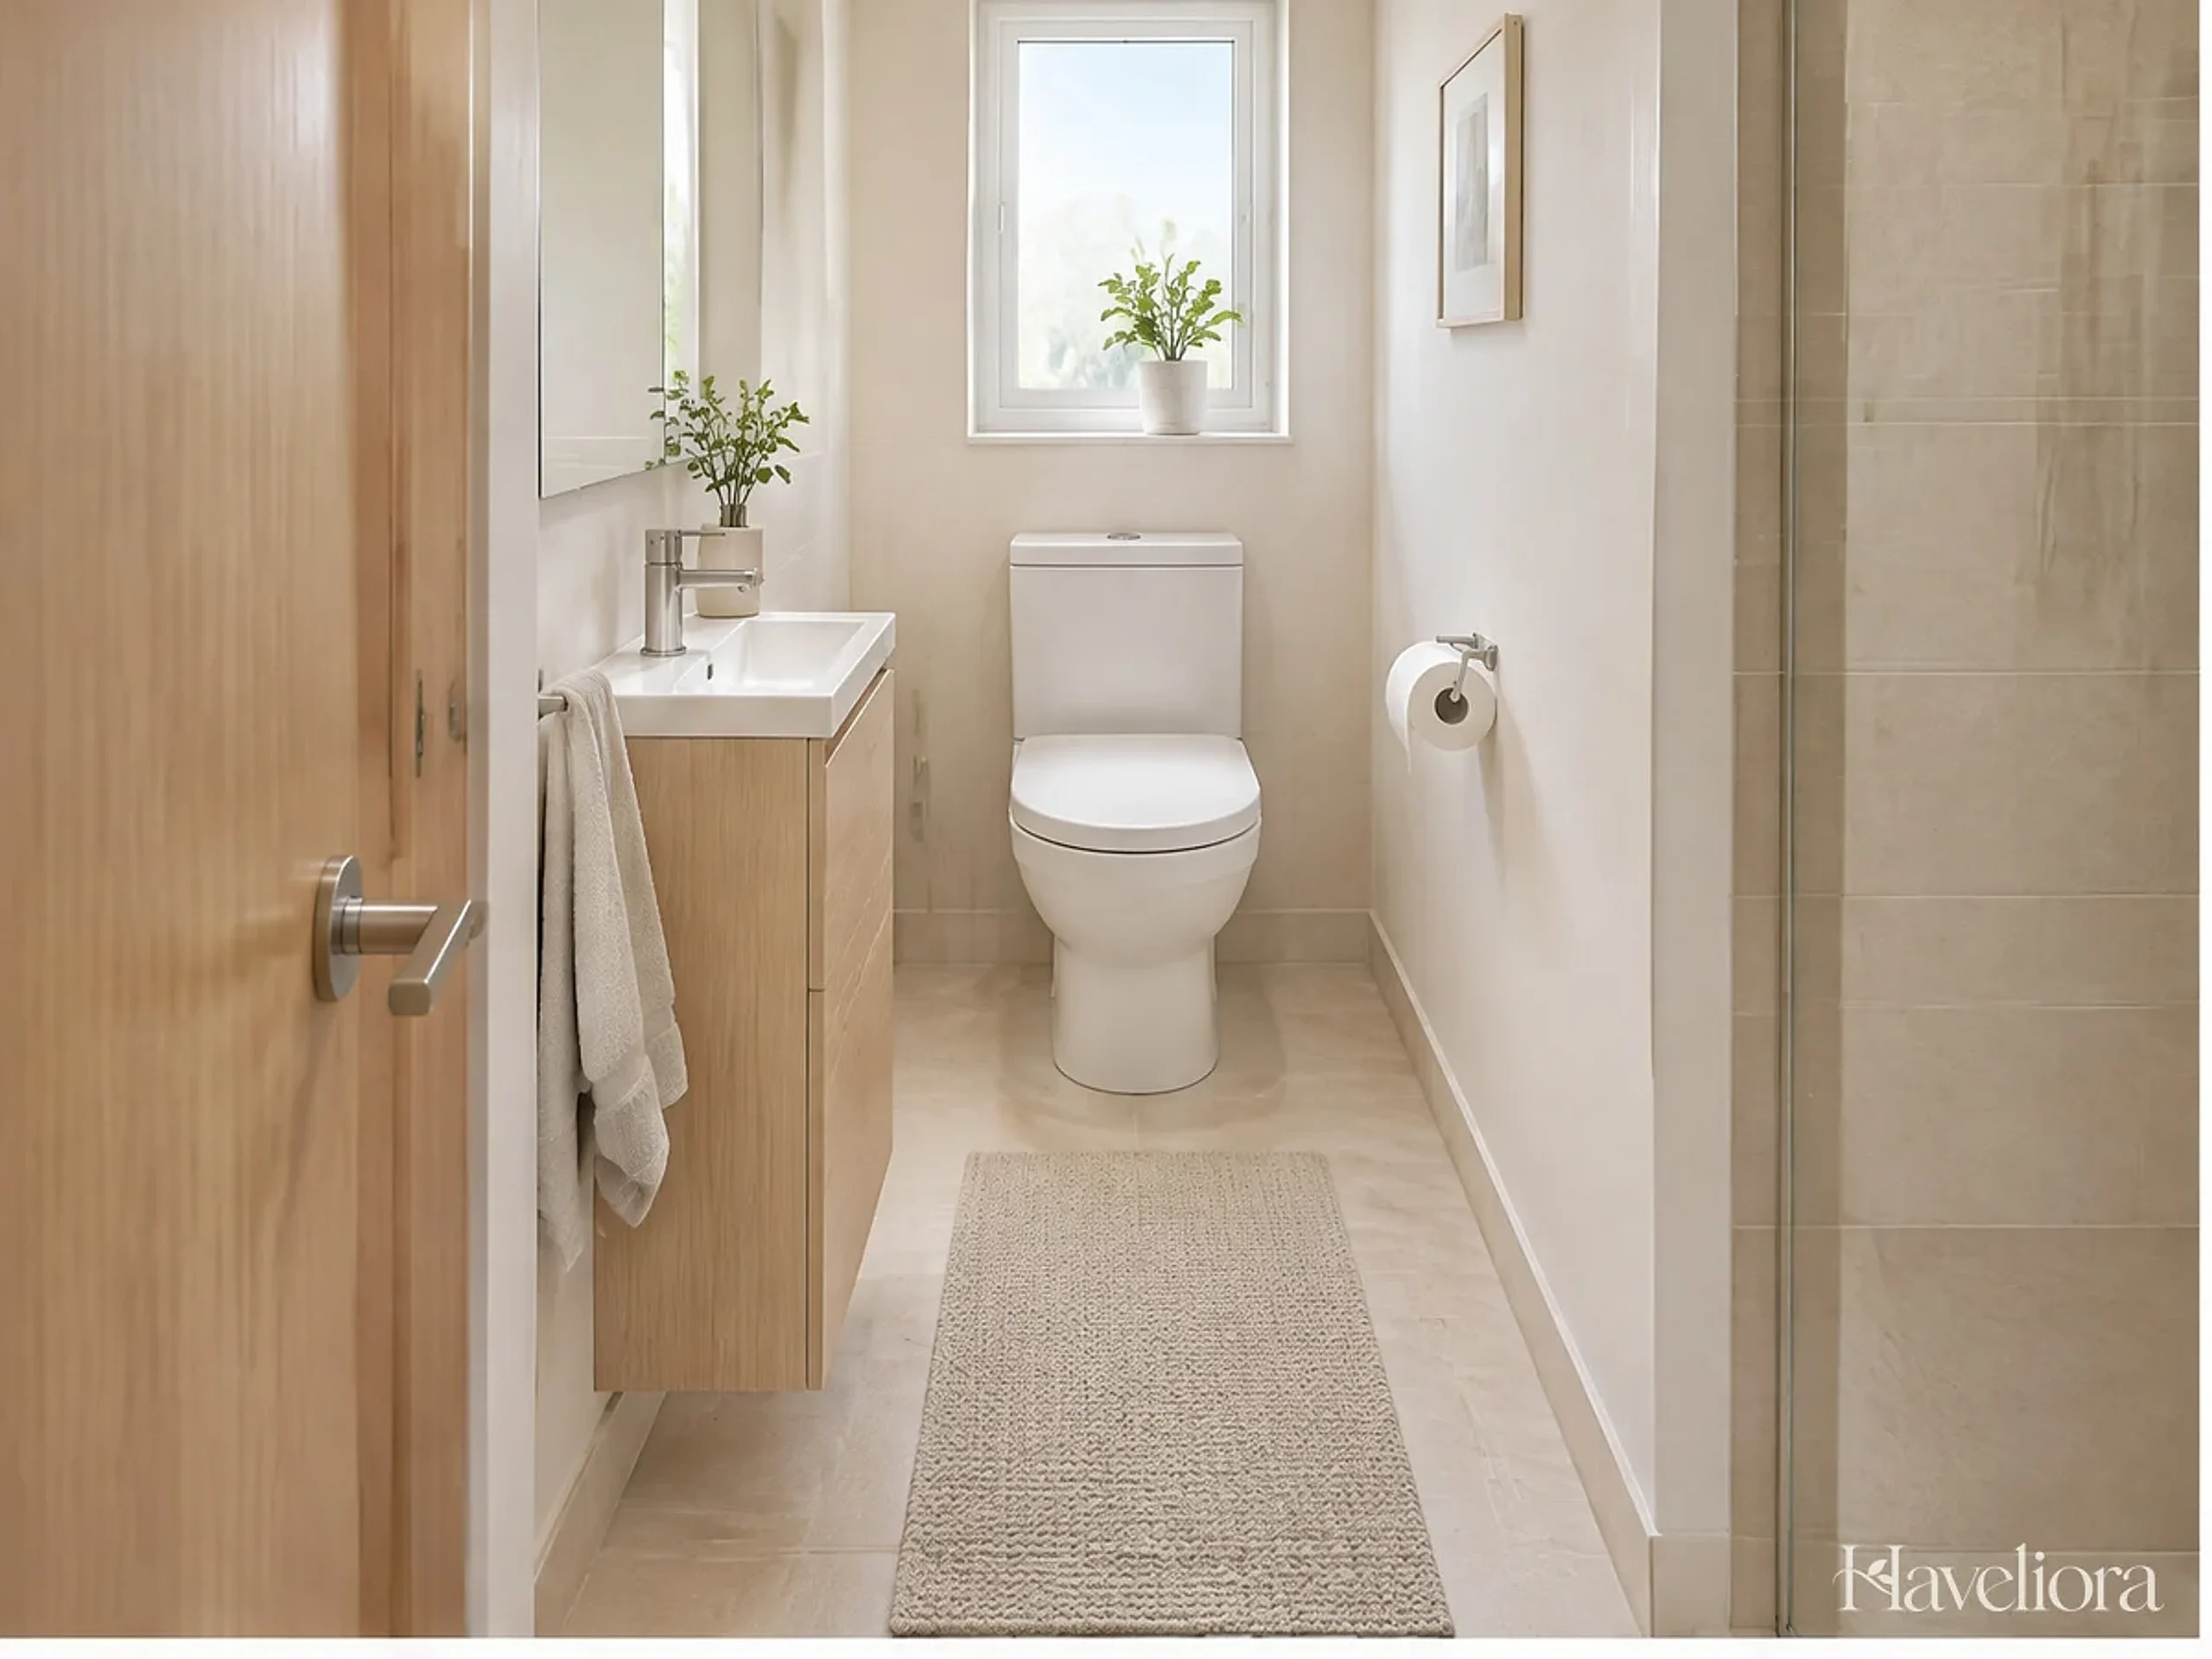
Prioritize the dry essentials. If a fixed glass panel can shield the vanity without making the entry too narrow, it may improve the room more than a completely open layout. Wall-mounted storage and a visually continuous floor can reduce clutter, but they do not replace the need for realistic water control.
For very tight footprints, compare the layout with Haveliora’s small bathroom ideas before committing to plumbing positions.
Use the wet-room idea selectively in a very small footprint
In a compact bathroom, making the whole room technically wet can solve one problem and create another. If the toilet, vanity and only towel storage are all within a few feet of the showerhead, a more contained glass arrangement may be better than total openness. The room can still use a flush threshold and continuous floor while protecting the fixtures that should stay dry.
Mock up the glass and fixture outlines with painter’s tape before rough-in. Open the bathroom door, stand at the vanity, sit on the toilet and walk into the shower. The best small wet room is not the one with the fewest partitions; it is the one where the remaining partitions are positioned carefully enough that the room still functions.
Plan maintenance before choosing the most minimal details
The cleanest-looking wet rooms still have drains, silicone joints, glass edges, grout and fittings that need attention over time.
Keep the drain serviceable
The cover should lift for hair and debris removal. If a drain detail looks invisible only because it is difficult to access, maintenance will eventually become more complicated.
Avoid impossible cleaning gaps
Leave enough room around a freestanding tub, glass panel and vanity to pass a cloth or cleaning tool. Narrow gaps tend to become the dirtiest parts of otherwise beautiful rooms.
Choose fewer purposeful material transitions
Every change from tile to stone, glass to plaster or floor to bench adds a joint. Materials can absolutely vary, but each change should have a reason rather than being added simply to create more visual detail.
Build in a realistic service strategy
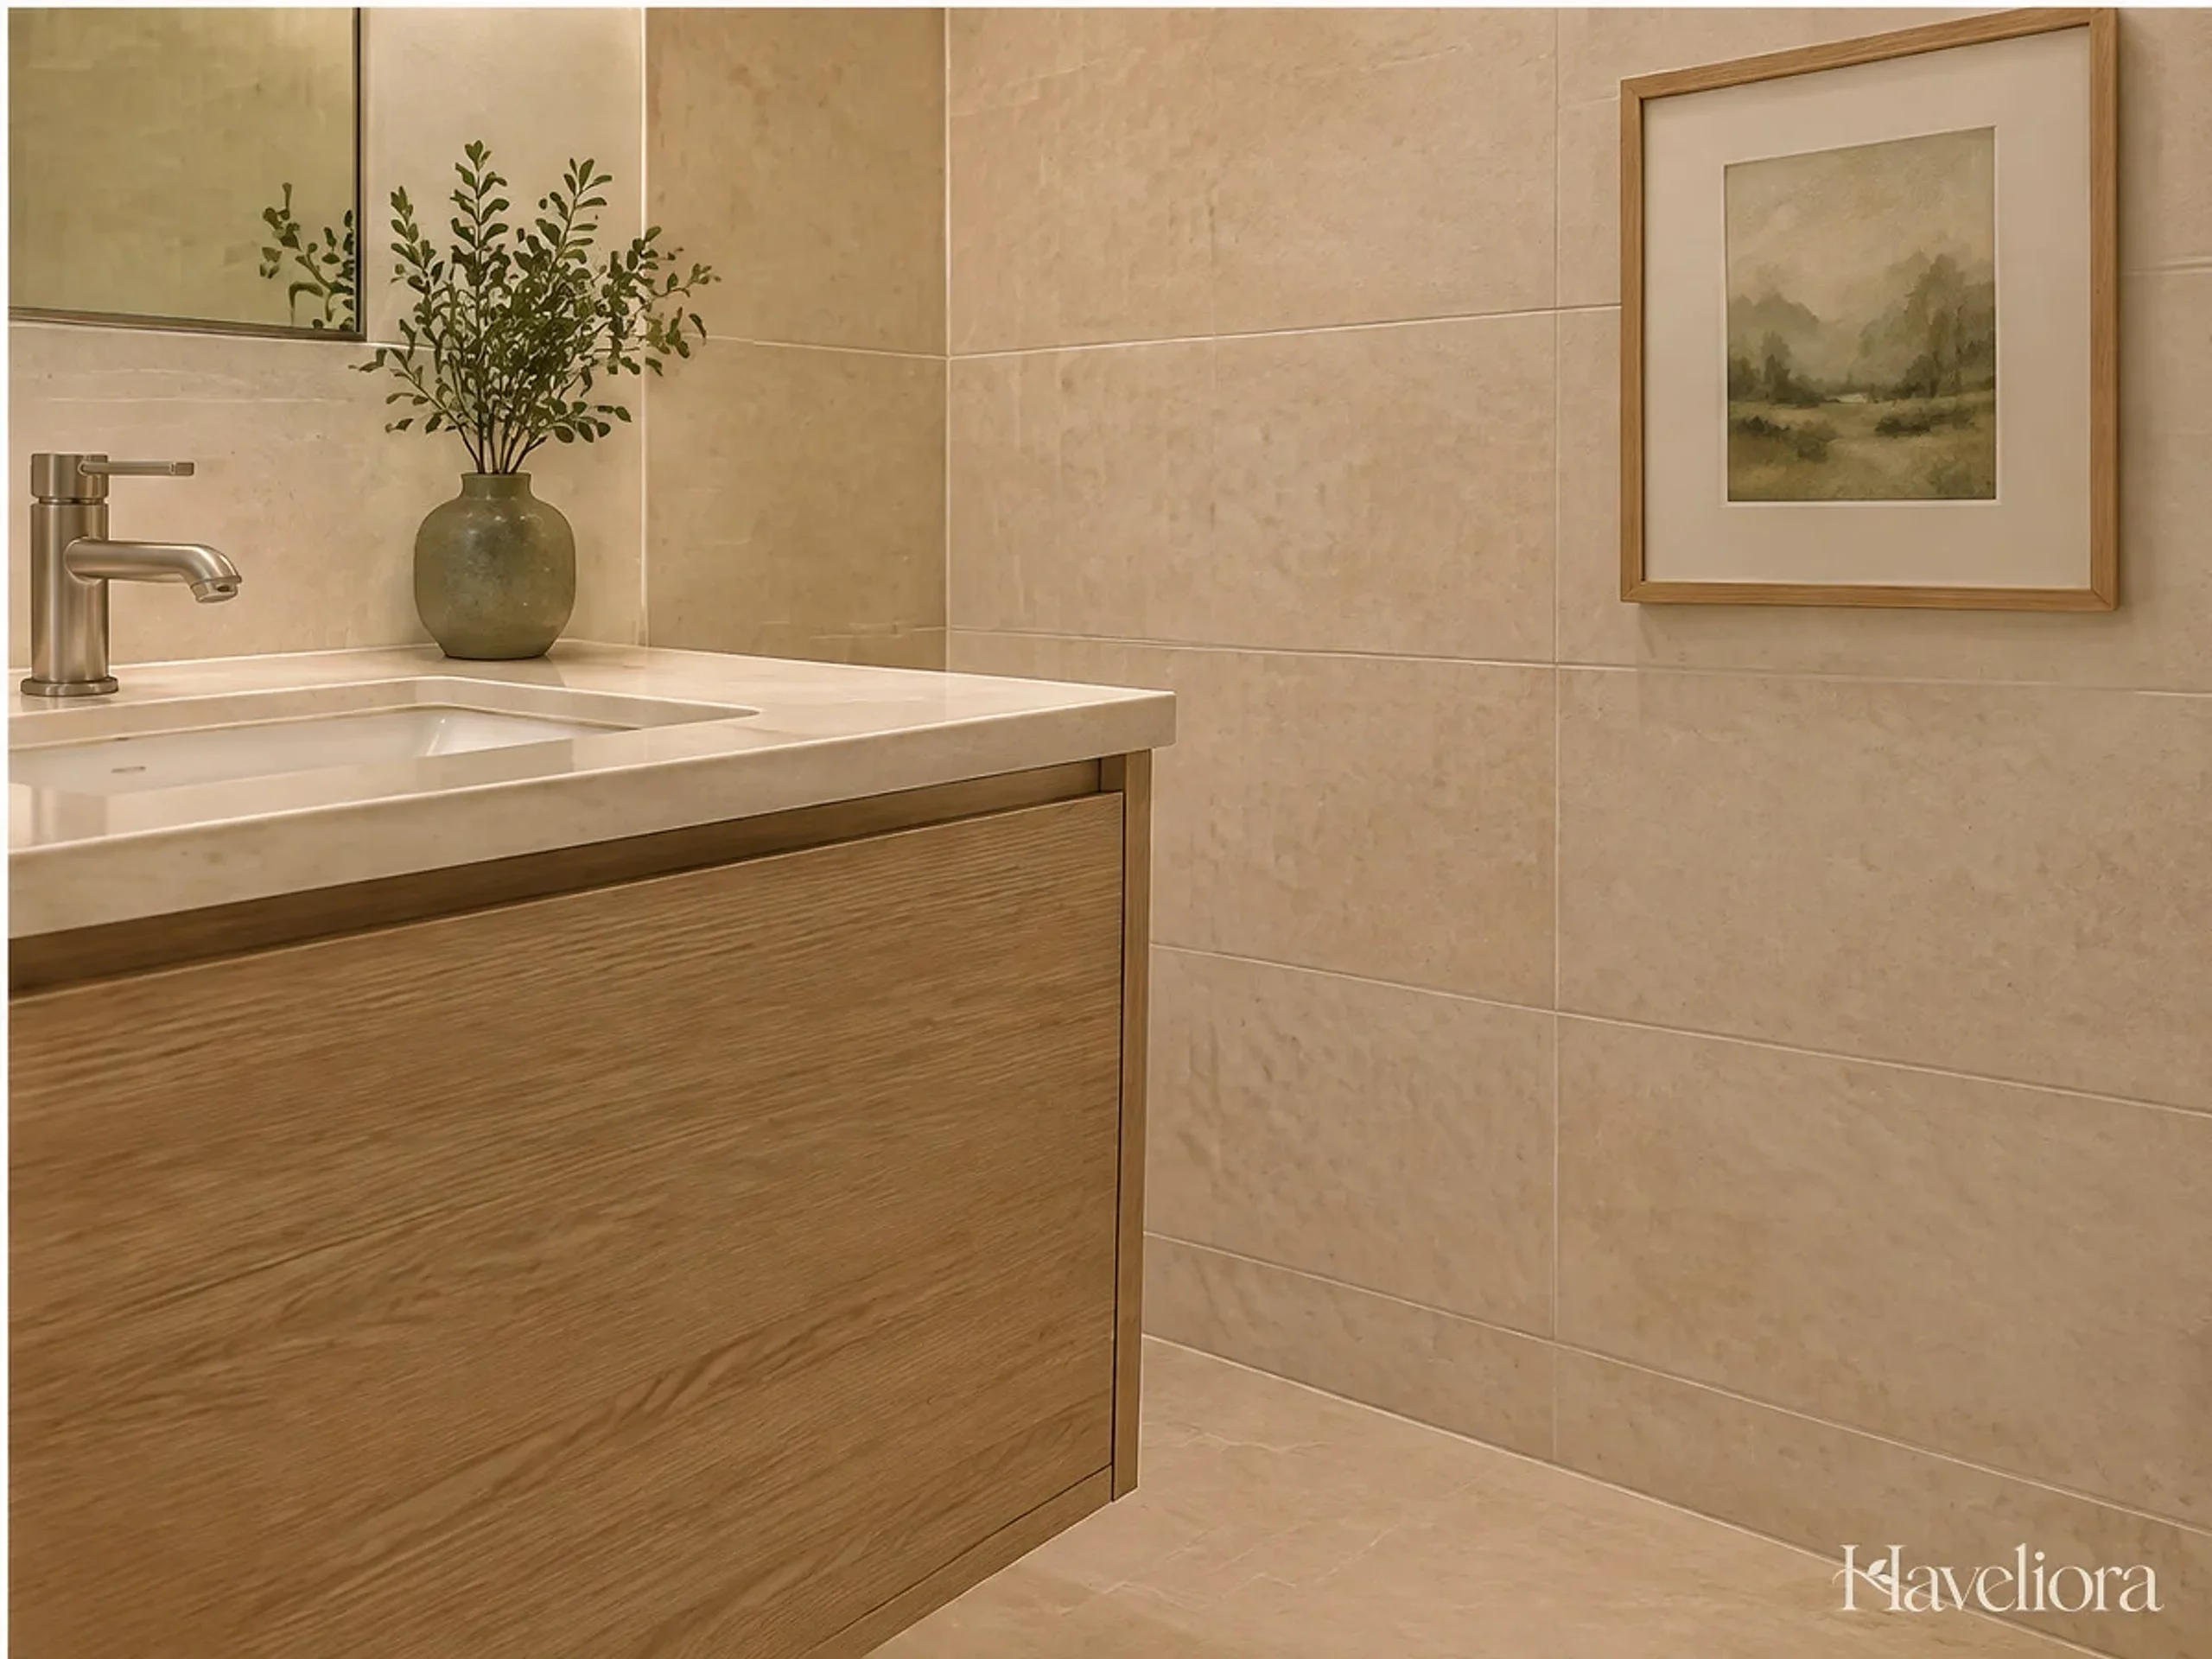
Minimal wet rooms often conceal plumbing and drains very successfully, but those components still need future access. Know how the tub filler, shower valve, drain trap where applicable and underfloor heating controls can be serviced. A discreet access panel on the dry side of a wall is often preferable to opening finished tile later.
Keep renovation records with product names, waterproofing system information, grout color and photographs of the walls before they were closed. Those records are valuable if a fixture is replaced years later or if a new grab bar needs to be installed.
Coordinate the tile layout with the glass and fixtures
A wet room often uses fewer visual boundaries, which makes small alignment errors more noticeable. Before tiling begins, confirm where grout lines will meet the glass panel, tub edges, niches and vanity. The goal is not to force perfect symmetry everywhere, but to avoid narrow slivers of tile or a drain that appears accidentally off-center from the main sightline.
Large-format tiles deserve particular planning because a single cut can become visually prominent across an open floor. A tile setter who understands the slope and fixture positions can help establish a layout that looks deliberate while preserving the technical fall toward the drain.
Budget for the hidden work first
The cost of a wet room is often driven by the work beneath the visible finishes: floor preparation, drain relocation, waterproofing, glass fabrication, ventilation and plumbing. A simpler tile can still produce a sophisticated room when those systems are resolved well.
If the budget is limited, preserve the technical quality and simplify the decorative layer before cutting waterproofing scope or service access. A standard porcelain tile installed correctly is a better long-term investment than an expensive stone installed over a compromised assembly.
| Priority | Spend first on | Can often simplify |
|---|---|---|
| Water control | Waterproofing, slope, drainage | Decorative drain finish |
| Comfort | Layout, controls, ventilation | Extra accessory niches |
| Maintenance | Accessible joints and cleanable spacing | Complex material changes |
| Visual openness | Good sightlines and proportion | Oversized sheets of glass |
| Future use | Backing, seating, clear routes | Trend-specific styling |
Test the room as a sequence, not a still image
Before construction is finalized, walk through a typical routine in the proposed plan. Enter with a towel, turn on the shower without standing under cold water, use the bench, reach shampoo, step out, grab the towel, open a vanity drawer and leave the room. Then imagine the same route while another person is at the sink. This short exercise often identifies small conflicts—an awkward glass edge, a towel hook too far away, a vanity drawer blocking the exit—that are inexpensive to fix before tile and custom glass are ordered.
Keep the wet room adaptable after the first year
After the room has been used through different seasons, small adjustments may improve it: a towel hook may move closer to the exit, a removable teak stool may prove unnecessary, or a glass squeegee may need a discreet home. Design the permanent architecture carefully, but leave minor accessories flexible rather than fixing every holder and shelf into the tile on day one.
This makes the room easier to refine without drilling additional waterproofed surfaces. Permanent decisions should solve drainage, structure, lighting and accessibility; small convenience details can evolve with use.
Final perspective
A wet room succeeds when openness is the result of good planning rather than the absence of boundaries. Start by deciding exactly which surfaces will get wet, then design the floor, drainage and waterproofing as one system. Position the tub, showerhead and glass so water stays where the room can handle it. Keep dry storage genuinely dry, give humid air a clear route to ventilation and make every major fixture reachable for cleaning and future service.
When those fundamentals are solved, the design can be as warm, minimal, traditional or contemporary as the rest of the home. The best wet room does not call attention to its technical complexity. It simply feels spacious, calm and easy to use every day.
Other Articles

Under-Stairs Pantry Ideas for Turning Awkward Space Into Useful Storage
Curbless Shower Ideas for a More Accessible, Open Bathroom